Connect to an Azure VM via Bastion with native RDP using only Azure PowerShell
To connect to an Azure VM via Bastion with native RDP using only RDP requires a custom solution. By default, the user must leverage Azure CLI. It also requires the user to know the Bastion subscription and the resource ID of the virtual machine. That’s all fine for an IT Pro or developer, but it is a bit much to handle for a knowledge worker.
That is why I wanted to automate things for those users and hide that complexity away from the users. One requirement was to ensure the solution would work on a Windows Client on which the user has no administrative rights. So that is why, for those use cases, I wrote a PowerShell script that takes care of everything for an end user. Hence, we chose to leverage the Azure PowerShell modules. These can be installed for the current user without administrative rights if needed. Great idea, but that left us with two challenges to deal with. These I will discuss below.
A custom PowerShell Script
The user must have the right to connect to their Virtual Machine in Azure over the (central) bastion deployment. These are listed below. See Connect to a VM using Bastion – Windows native client for more information.
- Reader role on the virtual machine.
- Reader role on the NIC with private IP of the virtual machine.
- Reader role on the Azure Bastion resource.
- Optionally, the Virtual Machine Administrator Login or Virtual Machine User Login role
When this is OK, this script generates an RDP file for them on the desktop. That script also launches the RDP session for them, to which they need to authenticate via Azure MFA to the Bastion host and via their VM credentials to the virtual machine. The script removes the RDP files after they close the RDP session. The complete sample code can be found here on GitHub.
I don’t want to rely on Azure CLI
Microsoft uses Azure CLI to connect to an Azure VM via Bastion with native RDP. We do not control what gets installed on those clients. If an installation requires administrative rights, that can be an issue. There are tricks with Python to get Azure CLI installed for a user, but again, we are dealing with no technical profiles here.
So, is there a way to get around the requirement to use Azure CLI? Yes, there is! Let’s dive into the AZ CLI code and see what they do there. As it turns out, it is all Python! We need to dive into the extension for Bastion, and after sniffing around and wrapping my brain around it, I conclude that these lines contain the magic needed to create a PowerShell-only solution.
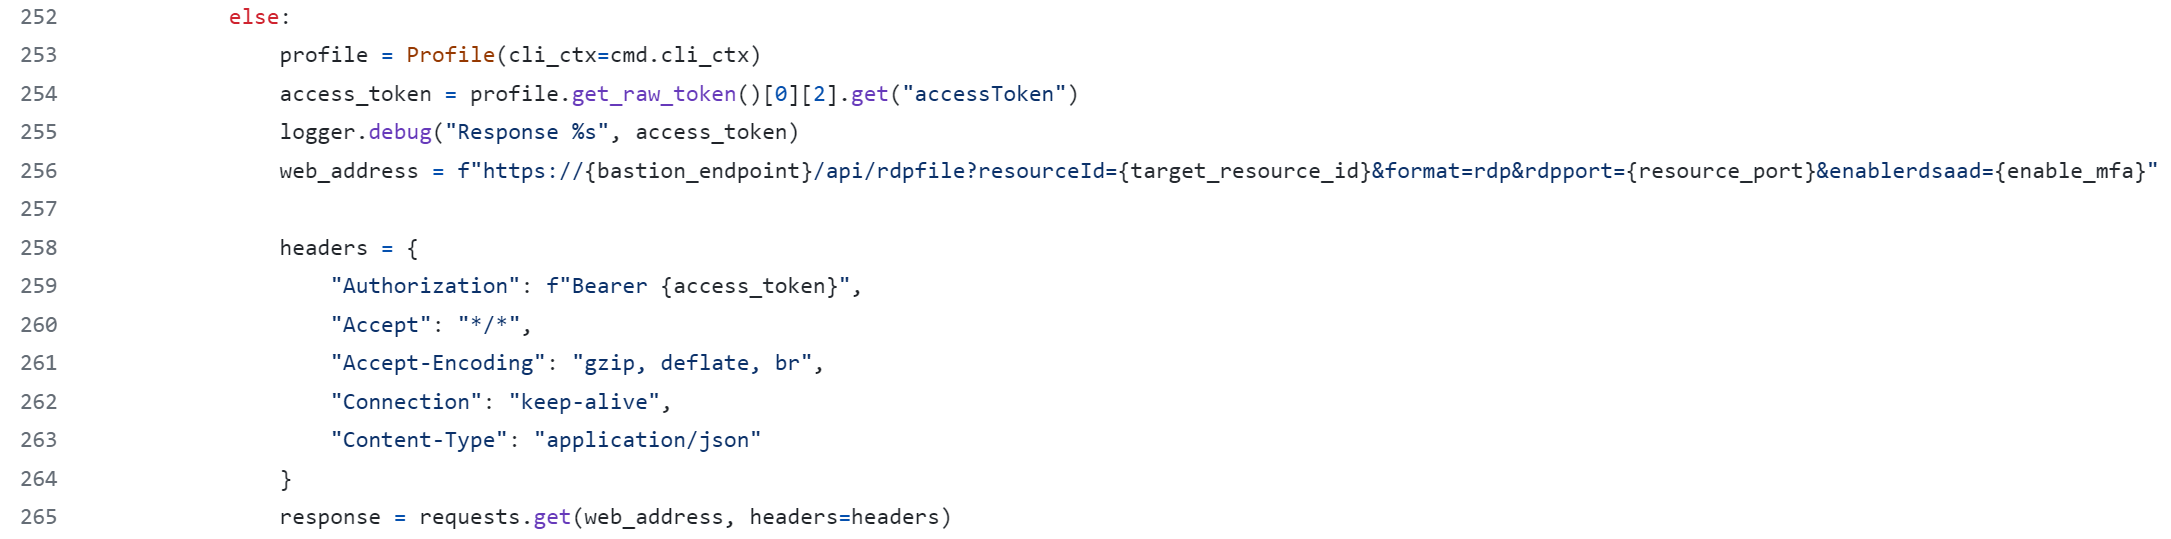
See for yourself overhere: azure-cli-extensions/src/bastion/azext_bastion/custom.py at d3bc6dc03bb8e9d42df8c70334b2d7e9a2e38db0 · Azure/azure-cli-extensions · GitHub
In PowerShell, that translates into the code below. One thing to note is that if this code is to work with PowerShell for Windows, we cannot use “keep-alive” for the connection setting. PowerShell core does support this setting. The latter is not installed by default.
# Connect & authenticate to the correct tenant and to the Bastion subscription
Connect-AzAccount -Tenant $TenantId -Subscription $BastionSubscriptionId | Out-Null

 #Grab the Azure Access token
    $AccessToken = (Get-AzAccessToken).Token
    If (!([string]::IsNullOrEmpty($AccessToken))) {
        #Grab your centralized bastion host
        try {
            $Bastion = Get-AzBastion -ResourceGroupName $BastionResoureGroup -Name $BastionHostName
            if ($Null -ne $Bastion ) {
                write-host -ForegroundColor Cyan "Connected to Bastion $($Bastion.Name)"
                write-host -ForegroundColor yellow "Generating RDP file for you to desktop..."
                $target_resource_id = $VmResourceId
                $enable_mfa = "true" #"true"
                $bastion_endpoint = $Bastion.DnsName
                $resource_port = "3389"

                $url = "https://$($bastion_endpoint)/api/rdpfile?resourceId=$($target_resource_id)&format=rdp&rdpport=$($resource_port)&enablerdsaad=$($enable_mfa)"

                $headers = @{
                    "Authorization"   = "Bearer $($AccessToken)"
                    "Accept"          = "*/*"
                    "Accept-Encoding" = "gzip, deflate, br"
                    #"Connection" = "keep-alive" #keep-alive and close not supported with PoSh 5.1
                    "Content-Type"    = "application/json"
                }

                $DesktopPath = [Environment]::GetFolderPath("Desktop")
                $DateStamp = Get-Date -Format yyyy-MM-dd
                $TimeStamp = Get-Date -Format HHmmss
                $DateAndTimeStamp = $DateStamp + '@' + $TimeStamp
                $RdpPathAndFileName = "$DesktopPath\$AzureVmName-$DateAndTimeStamp.rdp"
                $progressPreference = 'SilentlyContinue'
            }
            else {
                write-host -ForegroundColor Red  "We could not connect to the Azure bastion host"
            }
        }
        catch {
            <#Do this if a terminating exception happens#>
        }
        finally {
            <#Do this after the try block regardless of whether an exception occurred or not#>
        }
Finding the resource id for the Azure VM by looping through subscriptions is slow
As I build a solution for a Windows client, I am not considering leveraging a tunnel connection (see Connect to a VM using Bastion – Windows native client). I “merely” want to create a functional RDP file the user can leverage to connect to an Azure VM via Bastion with native RDP.
Therefore, to make life as easy as possible for the user, we want to hide any complexity for them as much as possible. Hence, I can only expect them to know the virtual machine’s name in Azure. And if required, we can even put that in the script for them.
But no matter what, we need to find the virtual machine’s resource ID.
Azure Graph to the rescue! We can leverage the code below, and even when you have to search in hundreds of subscriptions, it is way more performant than Azure PowerShell’s Get-AzureVM, which needs to loop through all subscriptions. This leads to less waiting and a better experience for your users. The Az.ResourceGraph module can also be installed without administrative rights for the current users.
$VMToConnectTo = Search-AzGraph -Query "Resources | where type == 'microsoft.compute/virtualmachines' and name == '$AzureVmName'" -UseTenantScope
Note using -UseTenantScope, which ensures we search the entire tenant even if some filtering occurs.
Creating the RDP file to connect to an Azure Virtual Machine over the bastion host
Next, I create the RDP file via a web request, which writes the result to a file on the desktop from where we launch it, and the user can authenticate to the bastion host (with MFA) and then to the virtual machine with the appropriate credentials.
        try {
            $progressPreference =  'SilentlyContinue'
            Invoke-WebRequest $url -Method Get -Headers $headers -OutFile $RdpPathAndFileName -UseBasicParsing
            $progressPreference =  'Continue'

            if (Test-Path $RdpPathAndFileName -PathType leaf) {
                Start-Process $RdpPathAndFileName -Wait
                write-host -ForegroundColor magenta  "Deleting the RDP file after use."
                Remove-Item $RdpPathAndFileName
                write-host -ForegroundColor magenta  "Deleted $RdpPathAndFileName."
            }
            else {
                write-host -ForegroundColor Red  "The RDP file was not found on your desktop and, hence, could not be deleted."
            }
        }
        catch {
            write-host -ForegroundColor Red  "An error occurred during the creation of the RDP file."
            $Error[0]
        }
        finally {
            $progressPreference = 'Continue'
        }
Finally, when the user is done, the file is deleted. A new one will be created the next time the script is run. This protects against stale tokens and such.
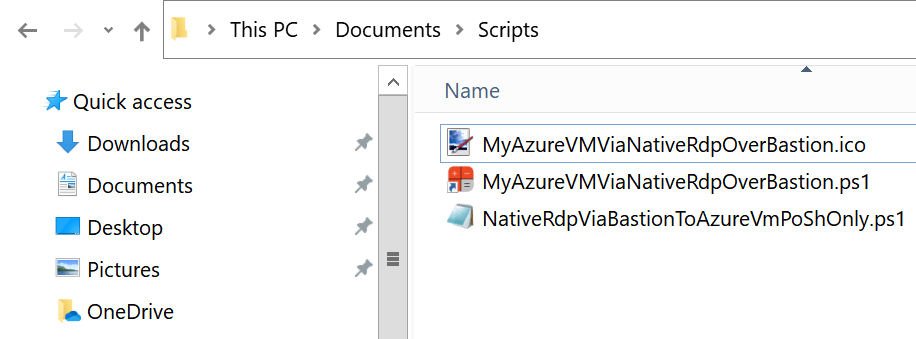
Pretty it up for the user
I create a shortcut and rename it to something sensible for the user. Next, I changed the icon to the provided one, which helps visually identify the shortcut from any other Powershell script shortcut. They can copy that shortcut wherever suits them or pin it to the taskbar.