Attend Veeam Live 2020
I am attending Veeam Live 2020 from the comfort of my home this year. I can stay safe and still learn, connect, and investigate new technologies and options.
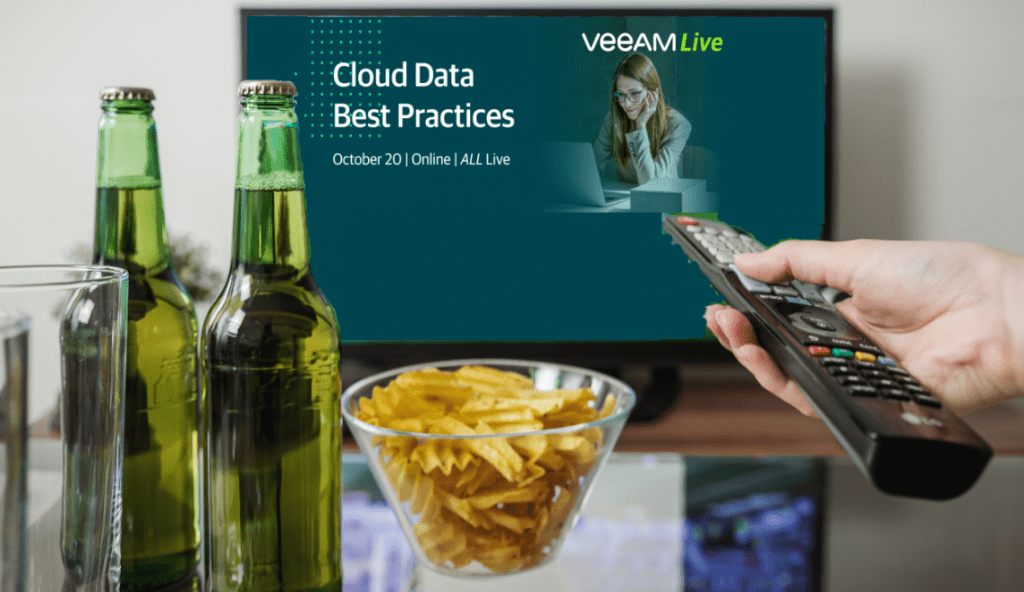
Allow me to invite you Veeam Live 2020. This year the content focus area is on “Cloud Data Best Practices”. The online event takes place on October the 20th 2020 for a full day.
Veeam is gathering its global talent pool to present at this event. That talent is both internal to Veeam as well as external. Some of my fellow Veeam Vanguards are presenting and sharing their expertise.
With names like Anton Gostev, Danny Allen, Rick Vanover, Michael Cade, Anthony Spiteri, Dave Kawula, Andrew Zhelezko, Dmitry Kniazez, David Hill, Karinne Bessette, Kirsten Stoner, Dave Russel Melissa Palmer, Sander Berkouwer, Drew J. Como and so many others, the experience and expertise to share are second to none. Many industry and customer experts are also joining in to share their insights.
As Veeam states
At Veeam Live, you’ll gain data management guidance you can activate today. You’ll learn how to up your data protection game across your enterprise, connect with like-minded professionals, set the strategy right for your organization, and be part of the future of Cloud Data Management™.”

So no matter what level you are at or what part you play in managing and safeguarding the data of your organization there are things to explore and learn.
Topics
Topics to be discussed are Multi-Cloud Data Management, AWS- and Azure-Native Backup, Office 365 Backup, Ransomware Best Practices, Kubernetes Backup and App Mobility. Check out the full agenda to find the topics and sessions that are of most interest to you.
On all those subjects Veeam is actively developing and releasing new capabilities. Just think about their recent acquisition of Kasten. They are also sharing information about Veeam Backup & Replication V11 which is currently in Beta.
Get your questions answerd
Do you want to find out how you can make your solutions more efficient? Need to figure out the biggest threats and opportunities there are in today’s technical, business, and security landscape? Want to learn what new technologies you need to keep an eye on and learn about? Is the evergrowing ransomware threat keeping you awake at night?
Free for all
The event is free for all. You can register here.

Join us from the comfort of your own (home) office or couch. It all works. Just bring an open mind, a willingness to listen and learn. The interesting thing about Veeam is that they sell solutions that cater to real, existing, and emerging needs of their (potential) customers. They keep it real and have a tradition of explaining why they develop and bring their solutions and offerings to the market. It makes for educational and insightful sessions and events.
So now you know the secret of how I stay on top of things in the data protection and management world. I listen. Not the sound of crickets (that’s for vacations) but to people that are smart, experienced, and have a proven track record of delivering value in a very competitive and ever-changing landscape. So, now you also know how to stay up to speed, all that is left to do is register today. You are very welcome.