Set Max Concurrent Tasks in Veeam with PowerShell
In this blog post, I’ll look at how to set the Max Concurrent Tasks in Veeam with PowerShell. When configuring your Veeam backup environment for the best possible backup performance there are a lot of settings to tweak. The defaults do a good job to get you going fast and well. But when you have more resources it pays to optimize. One of the things to optimize is Max Concurrent Tasks.
NOTE: all PowerShell here was tested against VBR v10a
Where to set max concurrent tasks or task limits
There are actually 4 places (2 specific for Hyper-V) where you can set the this in Veeam for a Hyper-V environment.
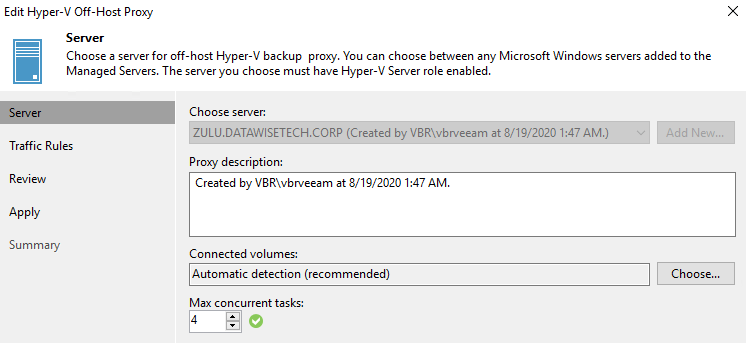
- Off-host proxy
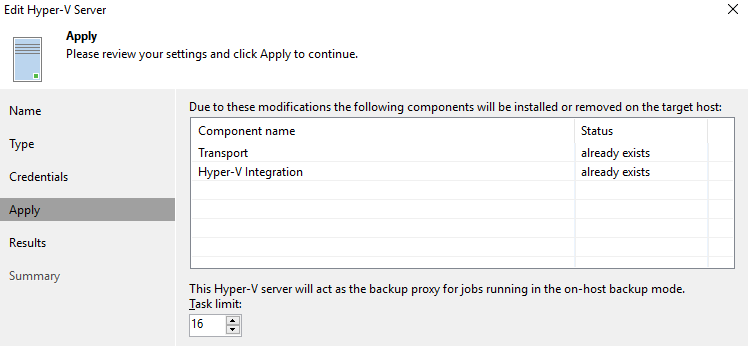
- On-host proxy
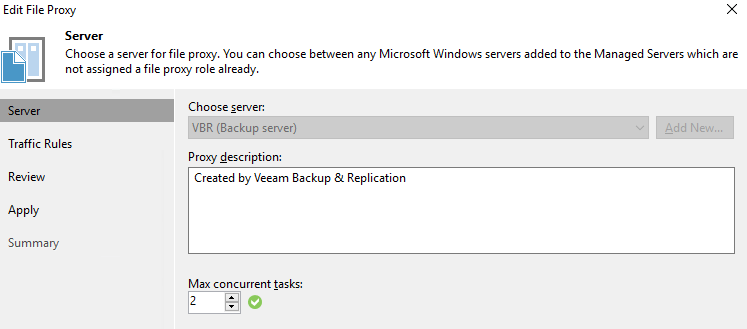
- File Share Proxy (NEW in V10)
- Repository or SOBR extent
Also see https://helpcenter.veeam.com/docs/backup/hyperv/limiting_tasks.html?ver=100
Now, let’s dive into those a bit and show the PowerShell to get it configured.
Configuring the proxies
When configuring the on-host or off-host proxies, the max concurrent tasks are based on virtual disks. Let’s look at some examples. 4 virtual machines with a single virtual disk consume 4 concurrent tasks. A single virtual machine with 4 virtual disks also consumes 4 concurrent tasks. 2 virtual machines with 2 virtual disks each consumes, you guessed it, 4 concurrent tasks.
Note that it doesn’t matter if these VMs are in a single job or multiple jobs. The limits are set at the proxy level. So it is the sum of all virtual disks in the VMs of all concurrently running backup jobs. Once you hit the limit, as a result, the remainder of virtual disks (which might translate into complete VMs) will be pending.
set the max concurrent tasks for on-host proxies
#We grab the Hyper-V on-host backup proxies. Note this code does not grab
#any other type of proxies. We set the MaxTasksCount and report back
$MaxTaskCountValueToSet = 12
$HvProxies = [Veeam.Backup.Core.CHvProxy]::GetAll()
$HvProxies.Count
Foreach ($Proxy in $HvProxies) {
    $HyperVOnHostProxy = $proxy.Host.Name
    $MaxTaskCount = $proxy.MaxTasksCount
    Write-Host "The on-host Hyper-V proxy $HyperVOnHostProxy has a concurrent task limit of $MaxTaskCount" -ForegroundColor Yellow
    $options = $Proxy.Options
    $options.MaxTasksCount = $MaxTaskCountValueToSet
    $Proxy.SetOptions($options)
}

#Report the changes
$HvProxies = [Veeam.Backup.Core.CHvProxy]::GetAll()
Foreach ($Proxy in $HvProxies) {
    $HyperVOnHostProxy = $proxy.Host.Name
    $MaxTaskCount = $proxy.MaxTasksCount
    Write-Host "The on-host Hyper-V proxy $HyperVOnHostProxy has a concurrent task limit of $MaxTaskCount" -ForegroundColor Green
}
set THE MAX CONCURRENT TASKS for off-host proxies
#We grab the Hyper-V off-host backup proxies. Note this code does not grab
#any other type of proxies. We set the MaxTasksCount and report back
$MaxTaskCountValueToSet = 6
$HvOffHostProxies = Get-VBRHvProxy
foreach ($OffhostProxy in $HvOffHostProxies) {
    $HvOffHostProxyName = $OffhostProxy.Name
    $MaxTaskCount = $OffhostProxy.MaxTasksCount
    Write-Host "The on-host Hyper-V proxy $HvOffHostProxyName has a concurrent task limit of $MaxTaskCount" -ForegroundColor Yellow
    $Options = $OffhostProxy.Options
    $Options.MaxTasksCount = $MaxTaskCountValueToSet
    $OffhostProxy.SetOptions($Options)
}

#Report the changes
foreach ($OffhostProxy in $HvOffHostProxies) {
    $HvOffHostProxyName = $OffhostProxy.Name
    $MaxTaskCount = $OffhostProxy.MaxTasksCount
    Write-Host "The on-host Hyper-V proxy $HvOffHostProxyName has a concurrent task limit of $MaxTaskCount" -ForegroundColor Green
}
PowerShell code to set THE MAX CONCURRENT TASKS for file proxies
#We grab the file proxies. Note this code does not grab
#any other type of proxies. We set the MaxTasksCount and report back
$MaxTaskCountValueToSet = 12
$FileProxies = [Veeam.Backup.Core.CFileProxy]::GetAll()
Foreach ($FileProxy in $FileProxies) {
    $FileProxyName = $FileProxy.Name
    $MaxTaskCount = $FileProxy.MaxTasksCount
    Write-Host "The file proxy $FileProxyName has a concurrent task limit of $MaxTaskCount" -ForegroundColor Yellow
    $options = $FileProxy.Options
    $options.MaxTasksCount = $MaxTaskCountValueToSet
    $FileProxy.SetOptions($options)
}

#Report the changes
$FileProxies = [Veeam.Backup.Core.CFileProxy]::GetAll()
Foreach ($FileProxy in $FileProxies) {
    $FileProxyName = $FileProxy.Name
    $MaxTaskCount = $FileProxy.MaxTaskCount
    Write-Host "The file proxy $FileProxyName has a concurrent task limit of $MaxTaskCount" -ForegroundColor Green
}
Last but not least, note that VBR v10 PowerShell also has the Get-VBRNASProxyServer and Set-VBRNASProxyServer commands to work with. However, initially, it seemed not to be reporting the name of the proxies which is annoying. But after asking around I learned it can be found as a property of the Server object it returns. While I was expecting $FileProxy. to exist (based on other Veeam proxy commands) I need to use Name$FileProxy.Server.Name
$MaxTaskCountValueToSet = 4
$FileProxies = Get-VBRNASProxyServer
foreach ($FileProxy in $FileProxies) {
    $FileProxyName = $FileProxy.Server.Name
    $MaxTaskCount = $FileProxy.ConcurrentTaskNumber
    Write-Host "The file proxy $FileProxyName has a concurrent task limit of $MaxTaskCount" -ForegroundColor Yellow
    Set-VBRNASProxyServer -ProxyServer $FileProxy -ConcurrentTaskNumber $MaxTaskCountValueToSet
}

#Report the changes
$FileProxies = Get-VBRNASProxyServer
foreach ($FileProxy in $FileProxies) {
    $FileProxyName = $FileProxy.Server.Name
    $MaxTaskCount = $FileProxy.ConcurrentTaskNumber
    Write-Host "The file proxy $FileProxyName has a concurrent task limit of $MaxTaskCount" -ForegroundColor Green
}
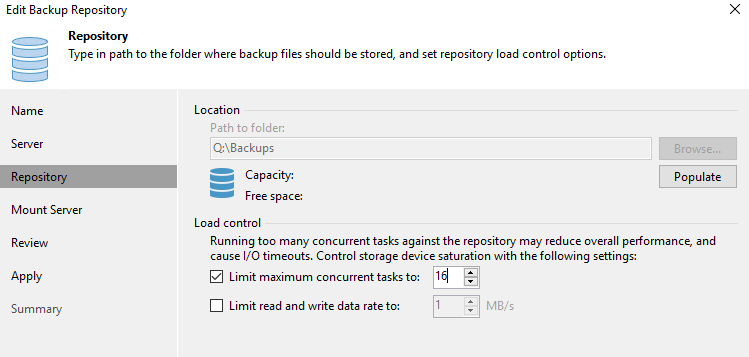
Configuring the repositories/SOBR extents
First of all, for Backup Repositories, the max concurrent tasks are not based on virtual disks but on backup files (.vbk, .vib & .vrb).
Secondly, you can use either per VM backup files or non-per VM backup files. In the per VM backup files every VM in the job will have its own backup file. So this consumes more concurrent talks in a single job than the non-per VM backup files mode where a single job will have a single file. Let’s again look at some examples to help clarify this. A single backup job in non-per VM mode will use a single backup file and as such one concurrent task regardless of the number of VMs in the job. A single backup job using per VM backup mode will use a single backup file per VM in the job.
What you need to consider with repositories is that synthetic tasks (merges, transformations, synthetic fulls) also consume tasks and count towards the concurrent task limit on a repository/etxent. So when setting it, don’t think is only related to running active backups.
Finally, when you combine roles, please beware the same resources (cores, memory) will have to be used towards those task limits. That also means you have to consider other subsystems like the storage. If that can’t keep up, your performance will suffer.
PowerShell code to set the task limit for a repository/extent
For a standard backup repositories this will do the job
Get-VBRBackupRepository | Set-VBRBackupRepository -LimitConcurrentJobs -MaxConcurrentJobs 24
For the extends of a SOBR you need to use something like this
Get-VBRBackupRepository -ScaleOut | Get-VBRRepositoryExtent | Set-VBRBackupRepository -LimitConcurrentJobs -MaxConcurrentJobs 24
I you put the output of Get-VBRBackupRepository in a foreach next you can also configuret/report on individual Backup repositories when requiered.
#We grab the repositories. Note: use -autoscale if you need to grab SOBR extents.
#We set the MaxTasksCount and report back
$MaxTaskCountValueToSet = 6
$Repositories = Get-VBRBackupRepository
foreach ($Repository in $Repositories) {
    $RepositoryName = $Repository.Name
    $MaxTaskCount = $Repository.Options.MaxTaskCount
    Write-Host "The on-host Hyper-V proxy $RepositoryName has a concurrent task limit of $MaxTaskCount" -ForegroundColor Yellow

    Set-VBRBackupRepository -Repository $Repository  -LimitConcurrentJobs -MaxConcurrentJob $MaxTaskCountValueToSet
}

#Report the changes
$Repositories = Get-VBRBackupRepository
foreach ($Repository in $Repositories) {
    $RepositoryName = $Repository.Name
    $MaxTaskCount = $Repository.Options.MaxTaskCount
    Write-Host "The on-host Hyper-V proxy $RepositoryName has a concurrent task limit of $MaxTaskCount" -ForegroundColor Green
}
Conclusion
So I have shown you ways to automate. Similar settings for different purposes. The way off automating differs a bit depending on the type of proxy or if it is a repository. I hope it helps some of you out there.