Introduction
So, why am I dealing with Linux AD computer object operating system values? OK, here is some background. In geographic services, engineering, etc. people often run GIS and CAD software from various big-name vendors on Windows Servers. But it also has a rich and varied open source ecosystem driven by academic efforts. Often a lot of these handy tools only run in Linux.
The Windows Linux Subsystem might be an option for client-based or interactive tools. But when running a service I tend to use Ubuntu. It is the most approachable for me and, you can buy support for it in an enterprise setting if so desired or required.
To keep things as easy as possible and try to safeguard the concept of single sign-on we join these Ubuntu servers to Active Directory (AD) so they can log with their AD credentials.
Pre-staging computer objects
When joining an Ubuntu server to AD it partially fills out the Operating System values.
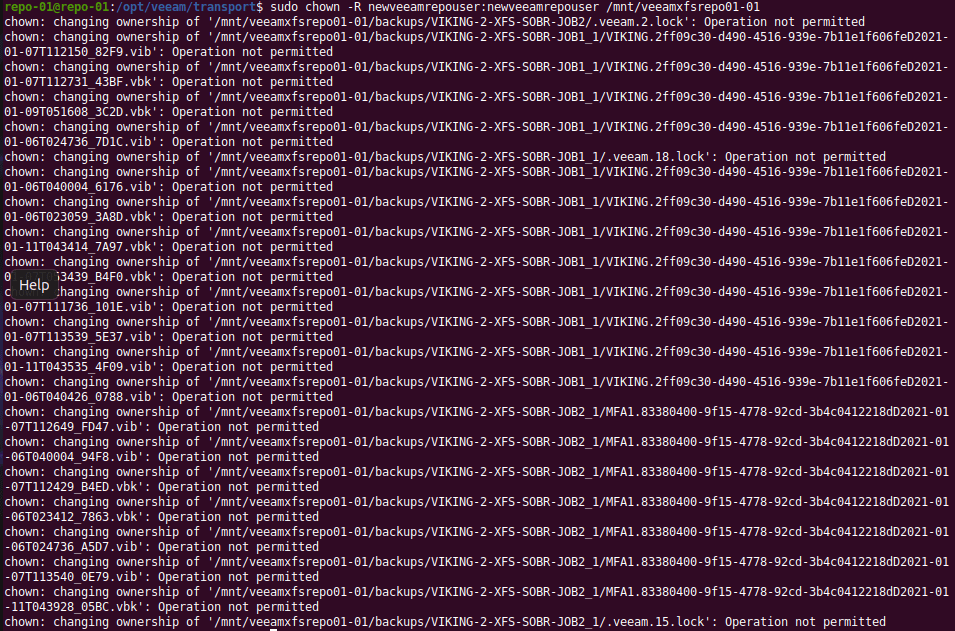
However, we tend to pre-stage the computer accounts in the correct OU and not create them automatically in the default Computer OU when joining. In that case, the Operating System values seem to be left all blank. We can fix that with PowerShell.
Don’t worry, the screenshot is from my lab with my fictitious Active Directory forest/domain. You also have a lab right?
Actually we need PowerShell Core
Now, this all very good and well, but how do we find out the values for the operating system. During deployment, we know, but over time they will update and upgrade. So it would be nice to figure out those values automatically and remotely.
PowerShell Core to the rescue! With PowerShell Core, we can do PowerShell Remoting Over SSH to run a remote session on our Linux server over SSH and get all the information we need. To make this automation-friendly you must certificate bases authentication for your SSH connection. Setting that up can be a bit tricky, especially on Windows. That is a subject for a future blog post I hope. You can also use the SecretStore to securely store the AD automation account credentials. Note that I also use a dedicated automation account on all my Linux systems for this purpose. Here is a “quick & dirty” code snippet to give you some inspiration on how to do that for Ubuntu.
#Grab the AD automation account credentials - please don't use a domain admin for this.
#Use a dedicated account with just enough privileges to get the job done.
$Creds = Get-Credential -UserName 'DATAWISETECH\dwtautomationaccount'
#Connect to a remote PowerShell session on our Linux server using certificate authentication.
#Setting this up is beyond the scope of this article but I will try to post a blog post on this later.
#Note you need to configure all Linux servers and desktops with the $public cert and allow the user to authenticate with it.
#We use a cert as that is very automation friendly! You will not get #prompted for a password for the Linux host.
$RemoteSession = New-PSSession -Hostname GRIZZLY -UserName autusrli
#Grab the OS information. Note that $PSVersionTable.OS only exist on PowerShell Core.
#which is OK as that is the version that is available for Linux.
$OS = Invoke-command -Session $RemoteSession { $PSVersionTable.OS }
#Grab the OSVersion.VersionString.
$VersionString = Invoke-command -Session $RemoteSession { [System.environment]::OSversion.VersionString }
#Clean up, we no longer need the remote session.
Remove-PSSession $RemoteSession
#Sanitize the strings for filling out the Active Directory computer object operating system values.
$UbuntuVersionFull = ($OS | Select-String -pattern '(\d+\.)(\d+\.)(\d)-Ubuntu').Matches.Value
$OperatingSystem = $UbuntuVersionFull.Split('-')[1] + " " + (($UbuntuVersionFull.Split('-')[0])).Substring(0, 5)
#Grab the Active Directory computer object and fill out the operating system values.
$Instance = (Get-AdComputer -Credential $Creds -Identity GRIZZLY -Server datawisetech.corp)
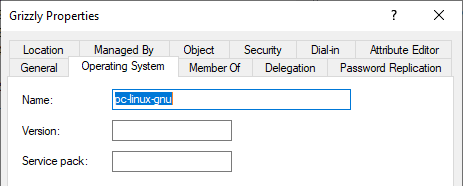
$Instance.OperatingSystem = $OperatingSystem
$Instance.OperatingSystemVersion = $VersionString
$Instance.OperatingSystemServicePack = $UbuntuVersionFull
Set-AdComputer -Instance $Instance
That’s it! Pretty cool huh?!
Conclusion
While you cannot edit the Linux AD computer object operating system values in the GUI you can do this via PowerShell. With Windows, this is not needed. This is handled for you. When joining Ubuntu to Active Directory this only gets set if you do not pre-stage the computer accounts. When you do pre-stage them, these are left blank. I showed you a way of adding that info via PowerShell. The drawback is that you need to maintain this and as such you will want to automate it further by querying those computers and updating the values as you update or upgrade these Ubuntu servers. Remote PowerShell over SSH and PowerShell Core on Linux are your friends for this. Good luck!