Introduction
Veeam’s Software Appliance (VSA) and Infrastructure Appliance are hardened by design out of the box. They’re secured, protected, consistent, and predictable, but they’re also unapologetically locked down. There is no SSH, no shell, no root, no sudo. Everything is protected via requests and explicit approvals.
That’s good for security. But it also means you need to understand the actual workflow for getting shell access, especially root access, when you might need it.
This post walks through the real‑world process, the UI flow, the approval logic, and the operational pitfalls. We’ll even cover the “I disabled the web console and need to fix that” scenario.
There are two ways to get SSH access. First, there is the Veeam Host Management console locally on the machine, the one that is available at first boot. After configuration, you will also have access via the web host management console over port 10443.
How to get root access?
Root access can be obtained through 3 pathways that are essentially the same. The first two are again the Veeam Host Management console, locally on the machine, and the web host management console on port 10443. Once you have SSH access, you can request root access via the Veeam Host management console over SSH as well. You can also restrict access via these interfaces.
Note
I also enable the security officer option in the lab. That can indeed be annoying during testing, but I like to train with the tools I will use when it’s for real. You learn and operate under the same restrictions as in production and, yes, suffer the same frustrations at times. That is the price of security.
The local Veeam Host Management console
At your appliance console, select Sign In.

Enter your username and password and hit ENTER.

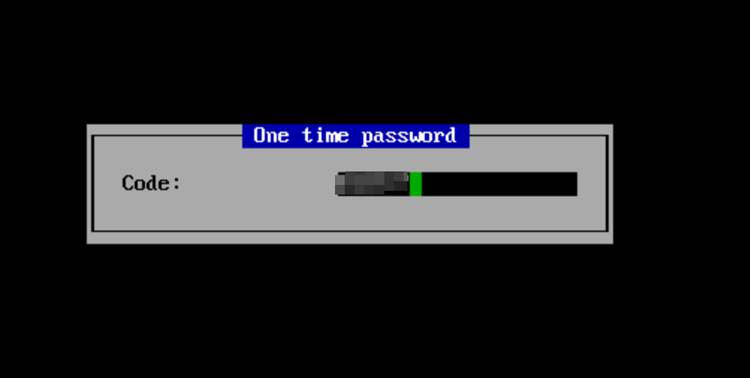
When prompted, enter your OTP to login.
From that point on, everything you need lives under the Remote Access configuration.
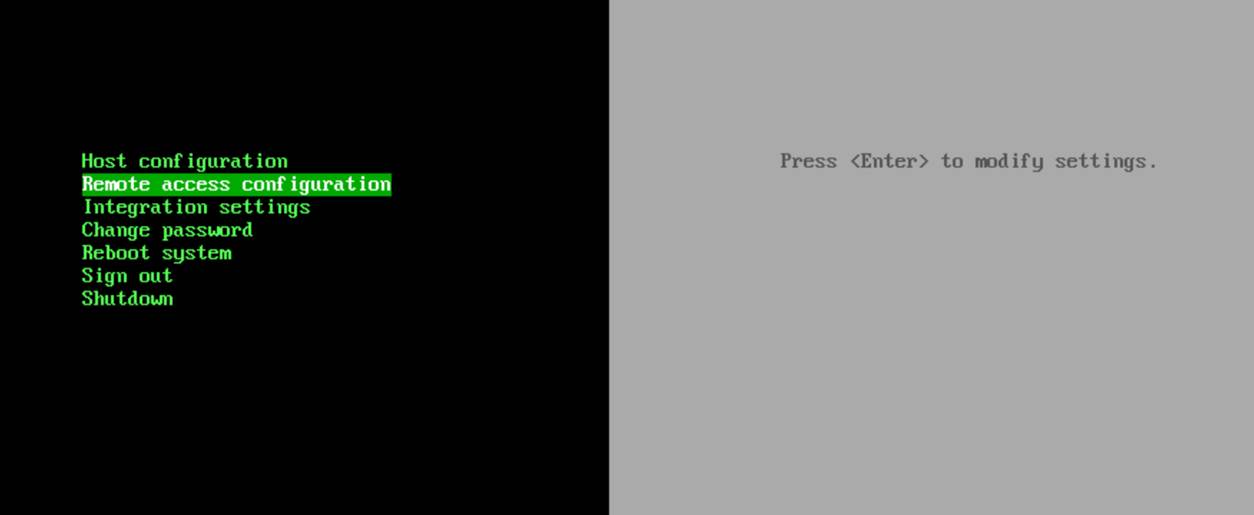
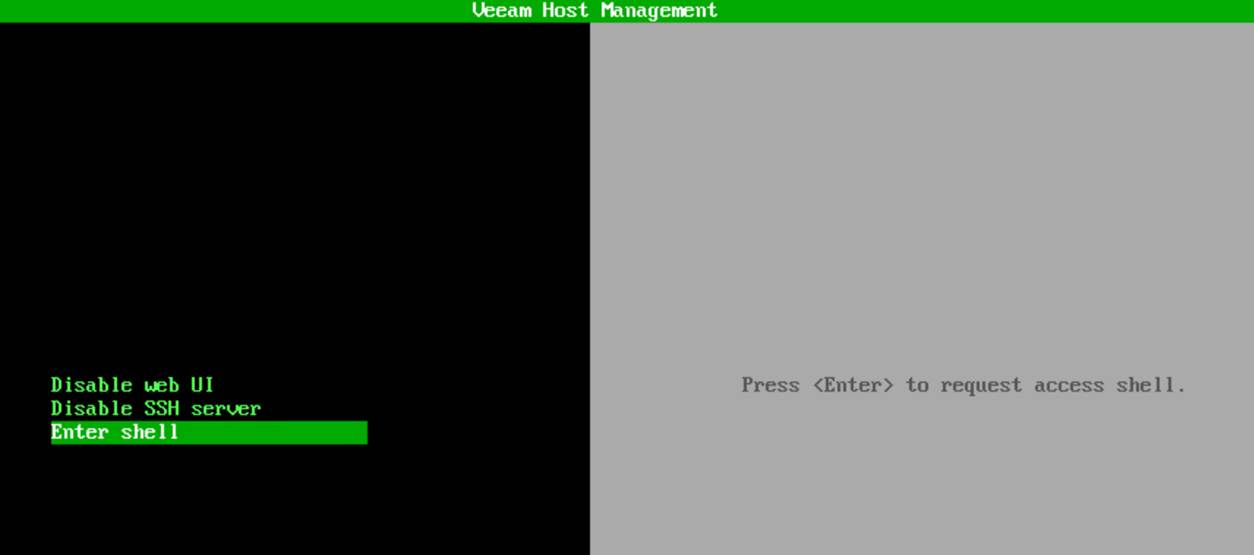
To request shell access, you choose Enter shell.
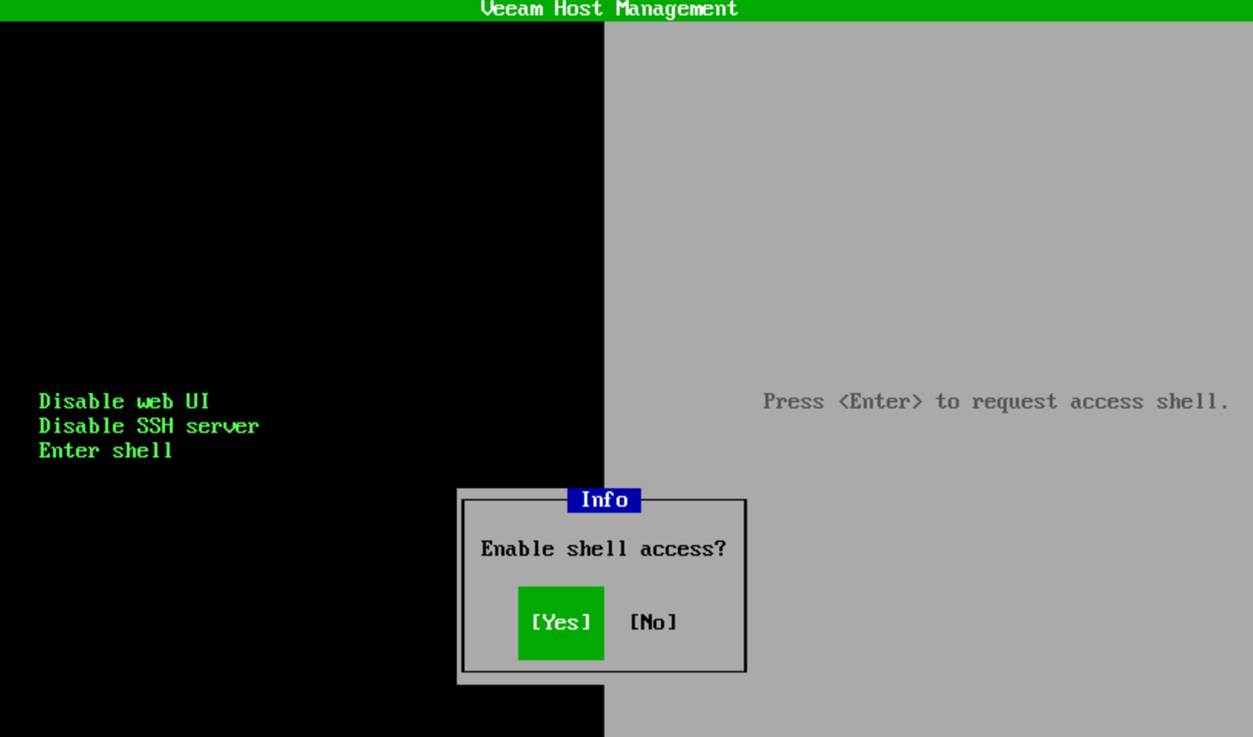
As mentioned, we have a security officer, so approval must be granted by that person.

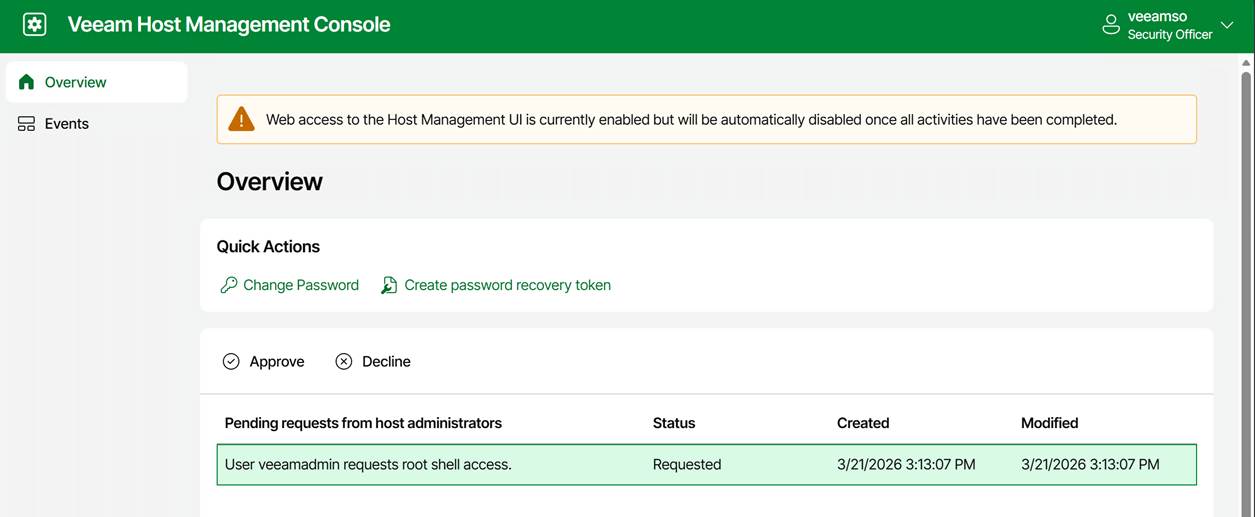
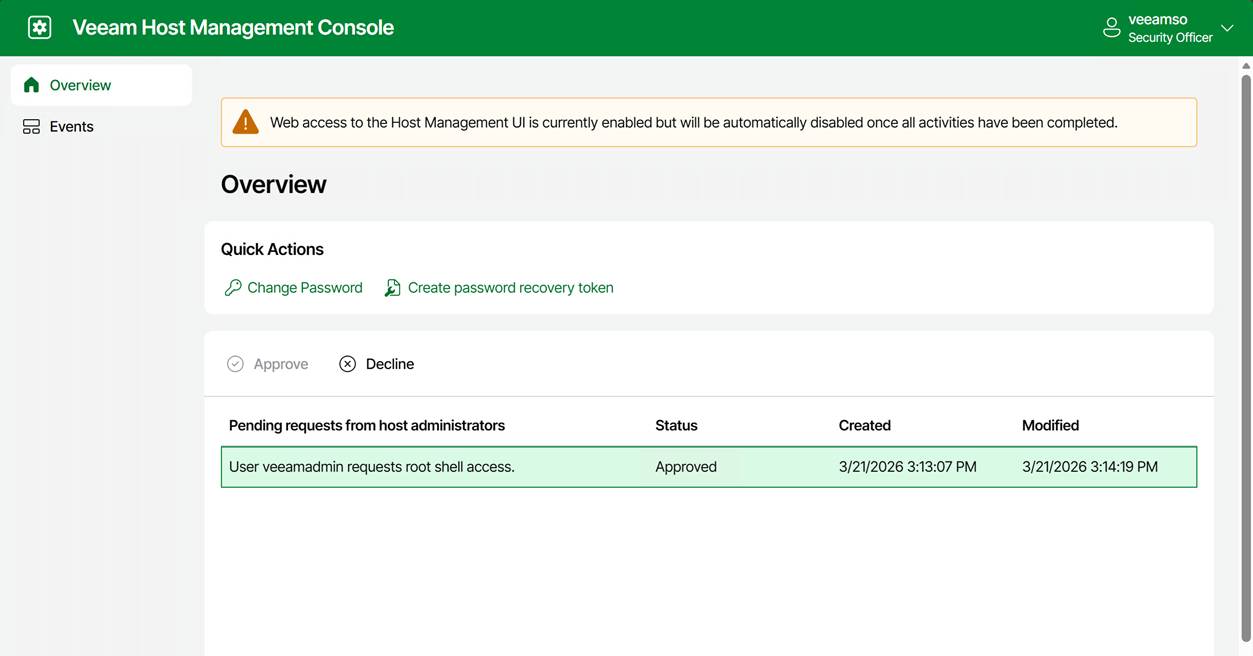
The security officer can now approve or decline your request.
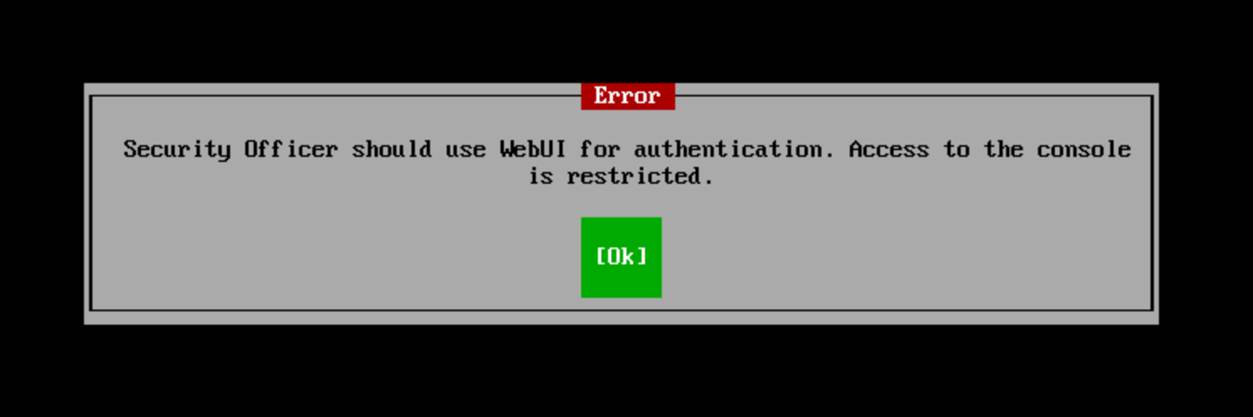
FYI: the security officer sign-in is only available via the web console!
Note that the entry for the approved request does not disappear. The security officer can decline it at any moment. For example, when you notify the security officer that you have completed your work. If not, it will expire after 8 hours.
Anyway, the console message changed to “Press <Enter> to access shell” and “Press <F1> to disable shell access.”
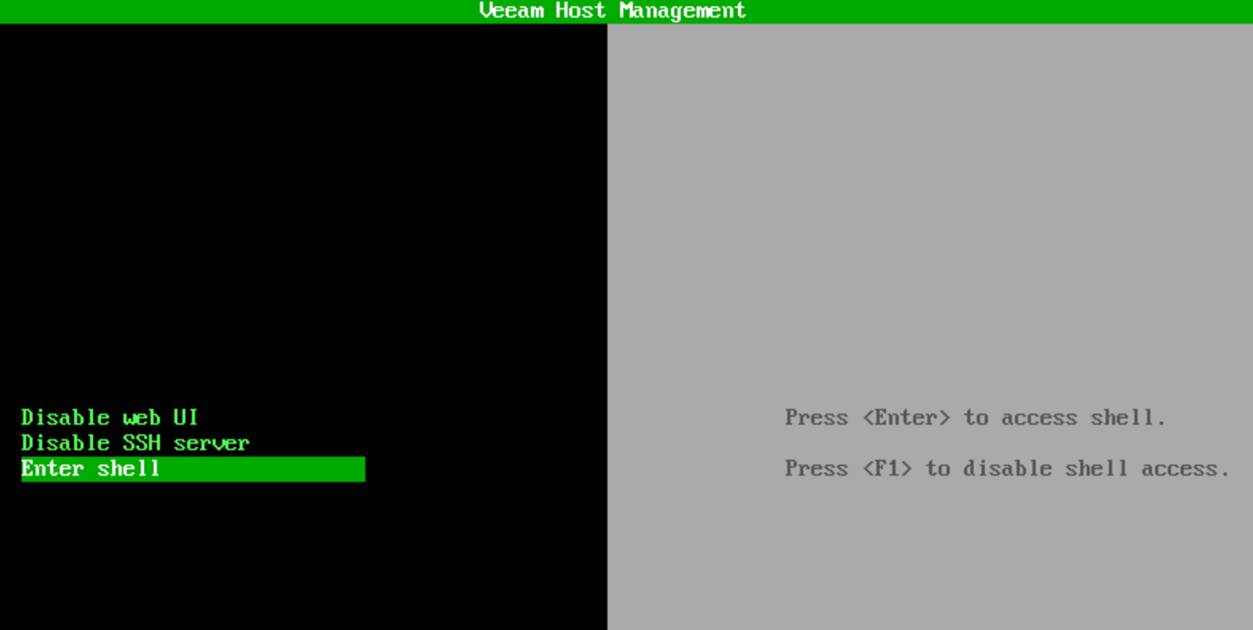

Hit ENTER, and you have shell access with root privileges.
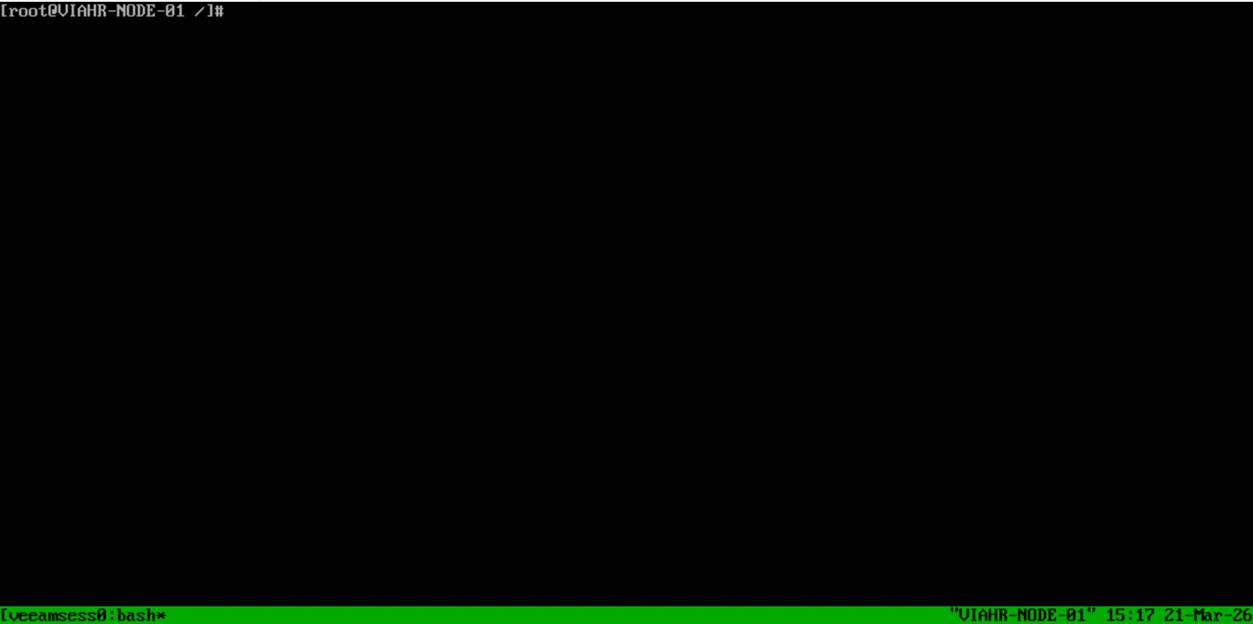
Note that this root shell access is:
- Time‑limited / non‑persistent
- Audited
- The only supported escalation path
Enabling root shell access via the web host management UI
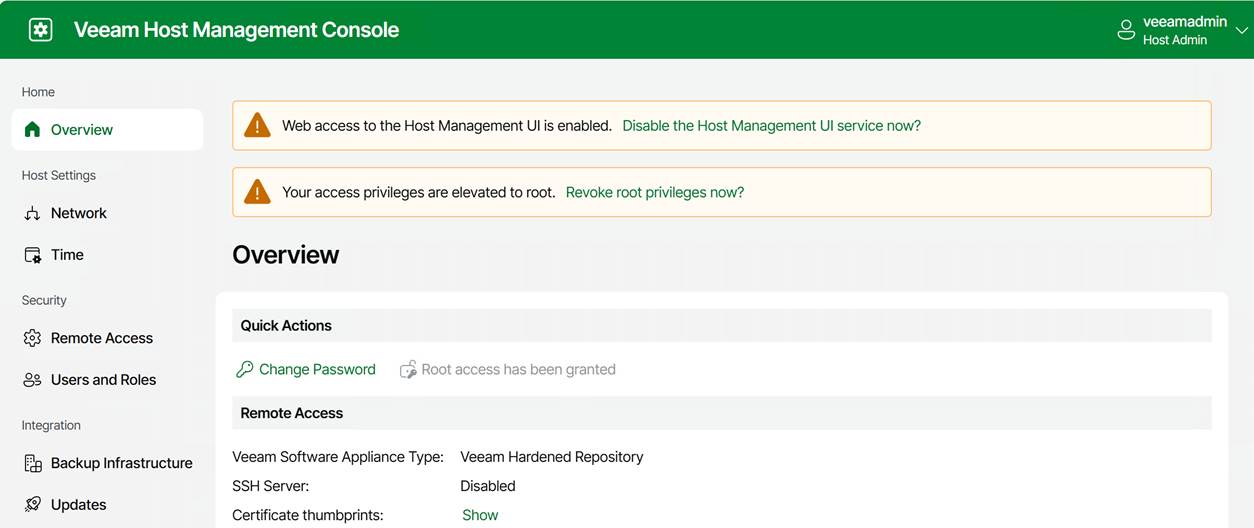
Navigate to the IP address or the FQDN of your appliance over port 10443 and log in.
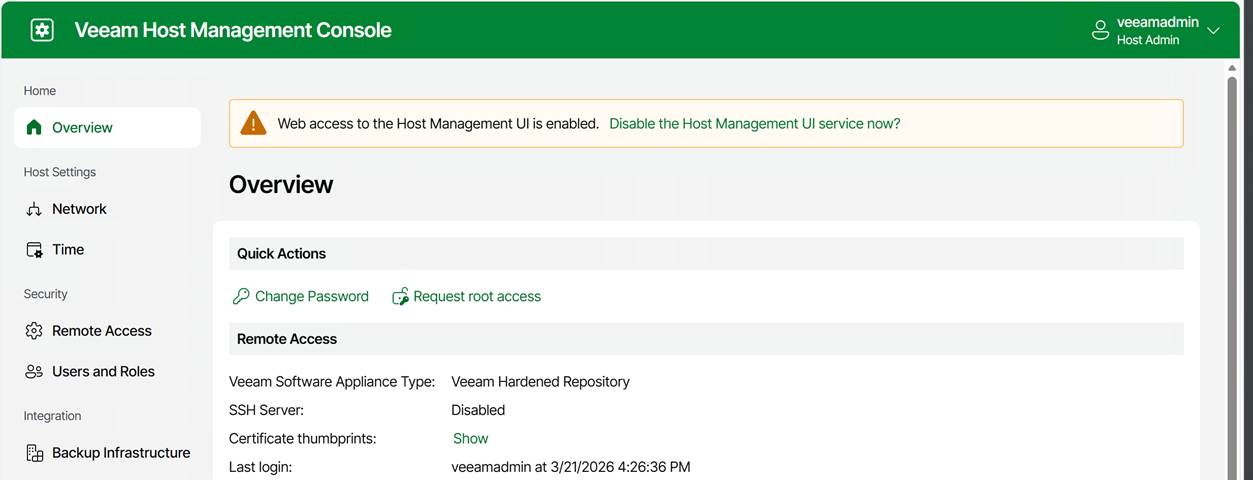
Under Overview, you can request root access. Again, this triggers the security officer approval workflow.
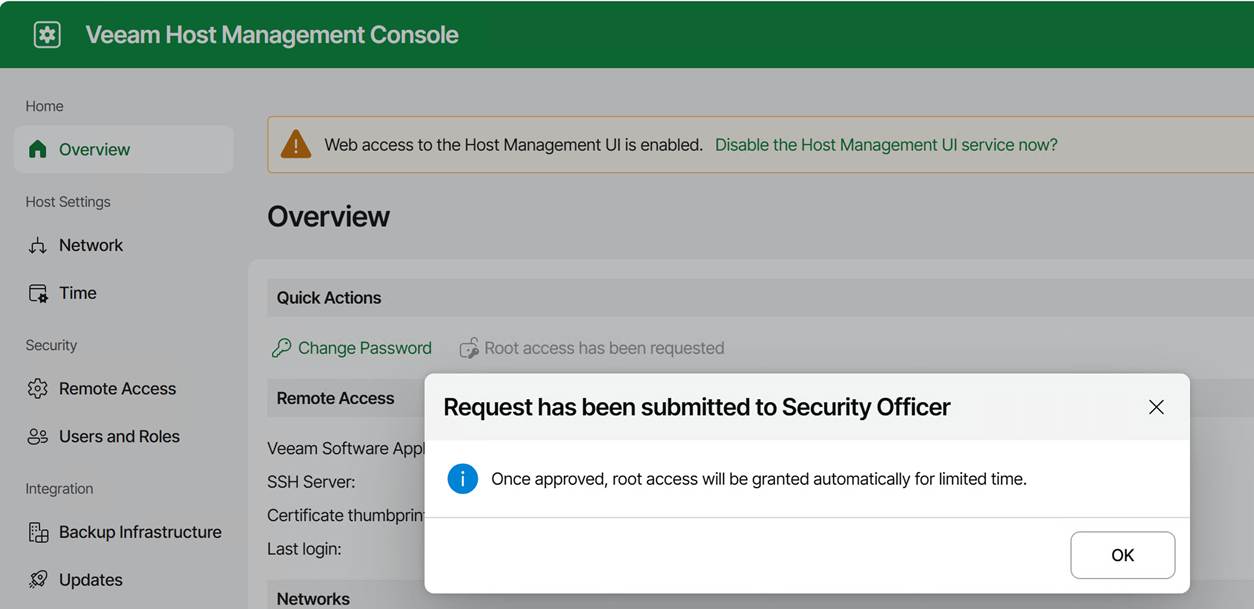
Once approved, a warning is displayed indicating that access privileges have been elevated to root. Note that you can revoke these yourself at any time.
Once approved, the TUI will allow you to open a temporary, audited root shell.
Once shell access is approved, you can:
- Choose Enter shell in the TUI on the physical or virtual console
- or enable SSH and log in remotely
Note that you always authenticate as the Host Administrator, not root. Dropping into the shell is always as root. When logged in via SSH, you do not use sudo or su to become root. You have to launch the TUI manually. Just run:
/opt/veeam/hostmanager/veeamhostmanagertui
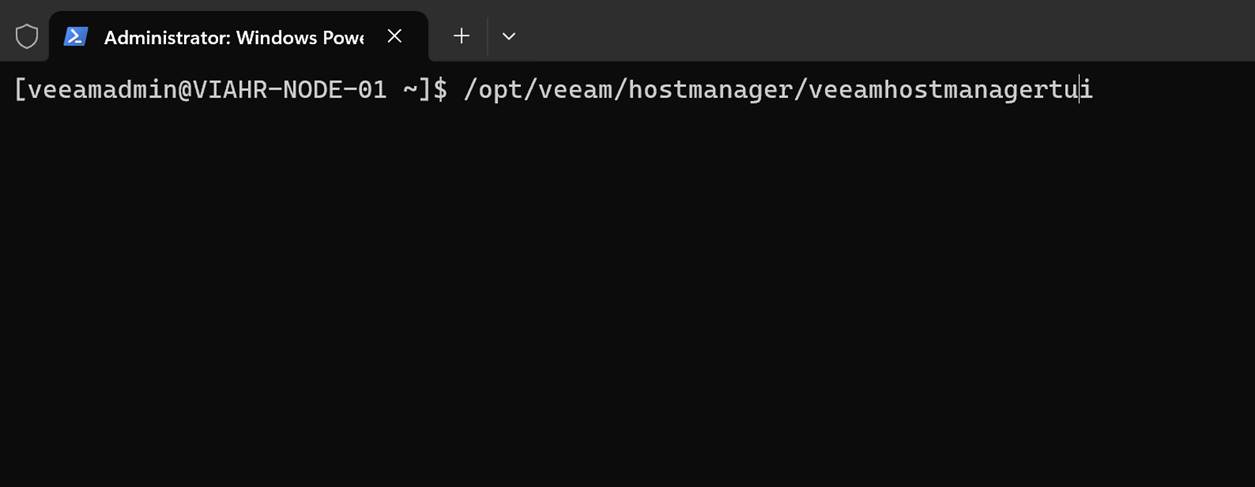
That is useful when you want to activate an already-approved root shell without returning to the physical or virtual console.
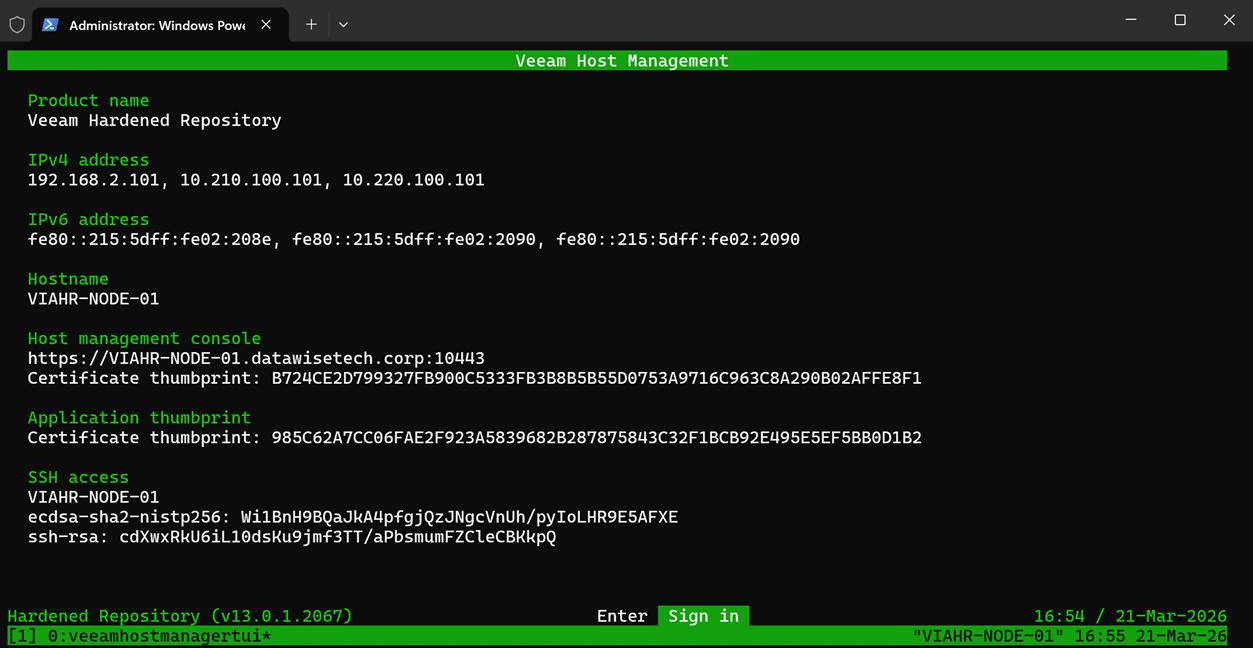
As you can see, you have the same interface and have to sign in again. You can then enter the shell only if approval has already been granted; otherwise, you’ll have to wait for your security officer to approve your request. For people without access to the physical or virtual console, requesting SSH access in combination with root shell access is the only option. SSH alone will never get you to root. Remember that. Because:
- root login is disabled
- SSH root login is disabled
- sudo is restricted
- No direct escalation paths exist outside the TUI, making it the only supported privilege‑escalation mechanism.
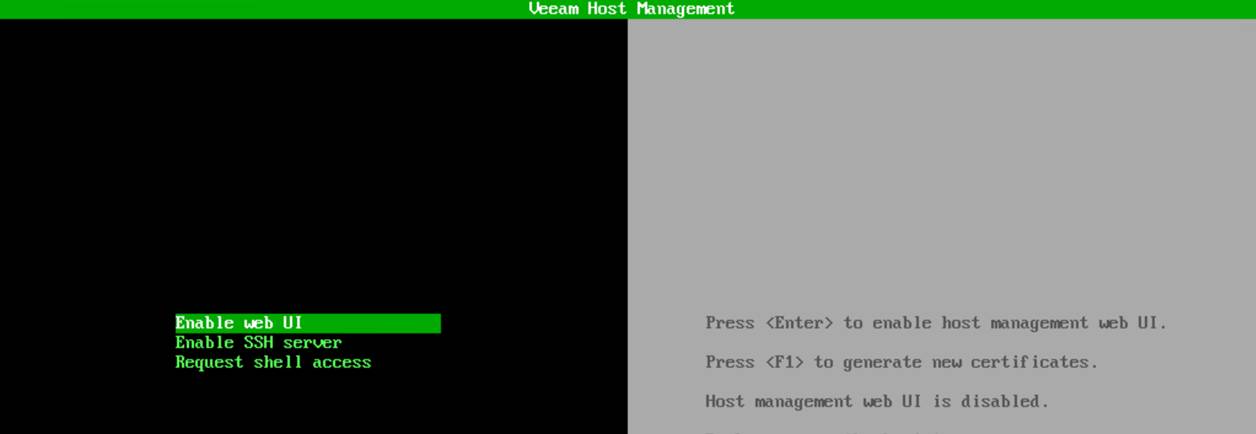
Turning off the host management web UI
The appliance also lets you turn off the host management web UI. Sure, it might sound great for even further hardening, but it comes with an ⚠️ Important catch: turning off the host management web UI can Lock You Out (unless you have physical or virtual console access).
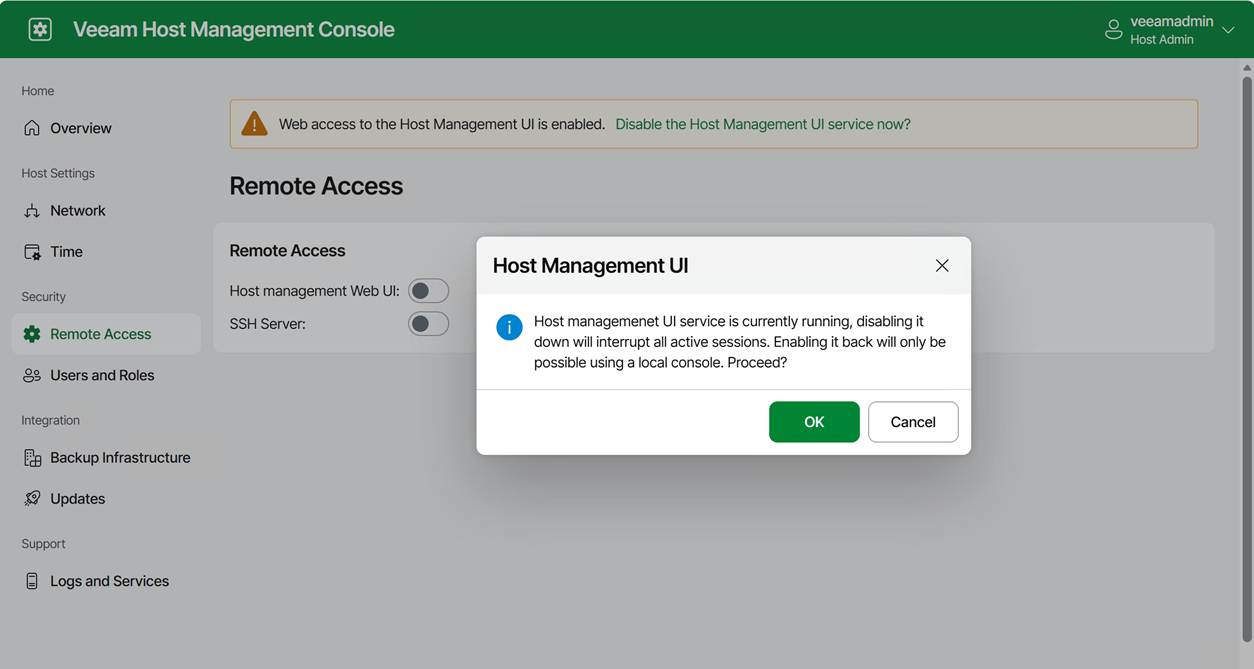
If you disable the web console and you do not have shell access or SSH enabled, the only way back in is through the hypervisor VM console. The physical or virtual console is your last‑resort access path. If you lose that, you have basically lost the appliance if all other options are disabled.
Some operational tips
Use root access with care and only when needed
I hope this is self-explanatory.
Use the web host management console & enable SSH on demand
We handle normal operations via the web consoles and the full console. When SSH is needed, request it.
Never turn off the web console unless you have guaranteed VM console access
If your hypervisor is managed by someone else, for example, think twice. Silos and multiple layers of communication and responsibilities are productivity, efficiency, and support-killing factors in way too many “enterprise”- grade environments. For real people, “enterprise IT” is not the badge of quality and efficiency many think it is; quite the contrary.
The Security Officer must be on call
When you tie actions to a security officer, ensure they are on call and kept informed. Make sure these are people with a clue, not just someone who approves anything without knowing what or why. Also, make sure they are very well aware of what normal backup and recovery operations require and what constitutes an exceptional but valid request. Otherwise, you can’t approve shell or root requests when you need them, or everything gets approved. The technology is only as good as the people and the processes.
Conclusion
While root shell access may be needed in a real-world environment, it should be used only when necessary and with great care. That is why I advise you to enable the security officer in production. And if you are like me, use the security officer feature in labs to make sure you learn and know the processes where this approval is required. How to Open a Root Shell on the Veeam Software or Infrastructure Appliance is also documented on Veeam Backup Enterprise Manager Guide