Upgrading a Hyper-V R2 Cluster to Windows 2008 R2 SP1

For all you people waiting to roll out Windows 2008 R2 SP1 to your Hyper-V cluster here’s a quick screenshot rich run through of the process. Some people claim you need to shut down the cluster services and shut down the guests but this is not the case.  You can do a rolling upgrade and your guests can stay on line on the other nodes, just use live migration to get them there. Now I do recommend to upgrade all the nodes tot SP1 as soon as possible and not staying a mixed Windows 2008 R2 / Windows 2008 R2 SP1 situation in your cluster. But this mixed situation makes upgrades of the nodes in the cluster possible without any down time for the guests (if you have live migration), which is the aim of having a high availability cluster.

Walk Through

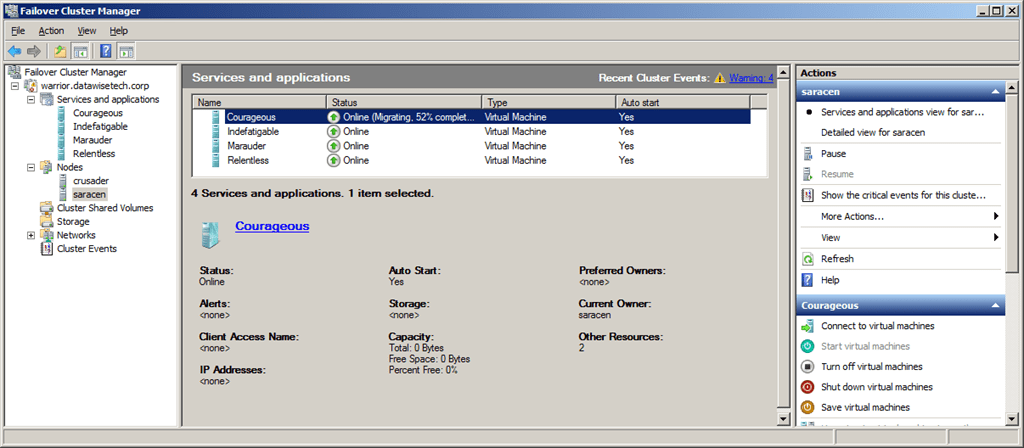
Live migrate all the guests from the node you wish to upgrade to SP1. Make sure the host is fully patched and disable any antivirus services if you are running any. I always reboot the node before a major upgrade to make sure we have the server in a clean state with  no lingering reboots waiting  or processes can cause issues.

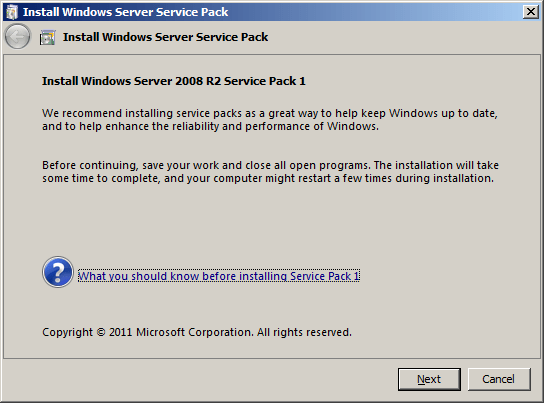
Navigate to the service pack 1 file for Windows 2008 R2, it’s called windows6.1-KB976932-X64.exe and start it up:

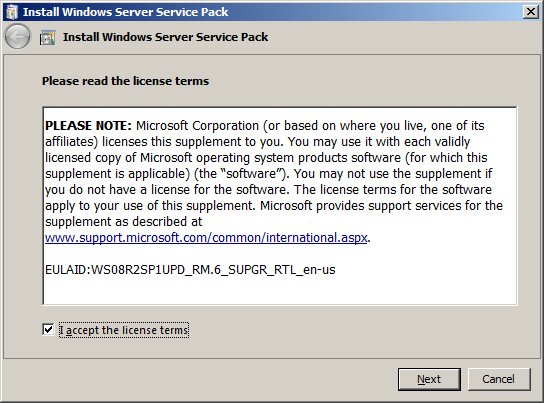
You’ll have to accept the license terms:

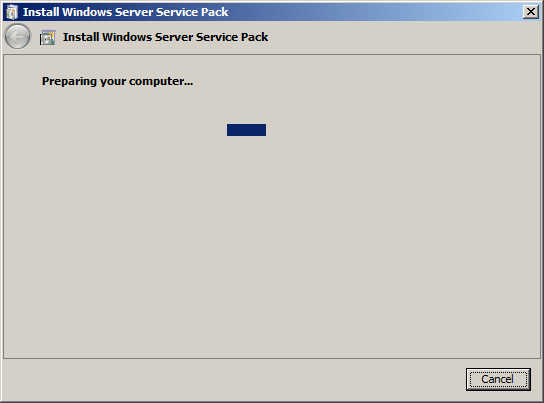
And then the preparation process starts:

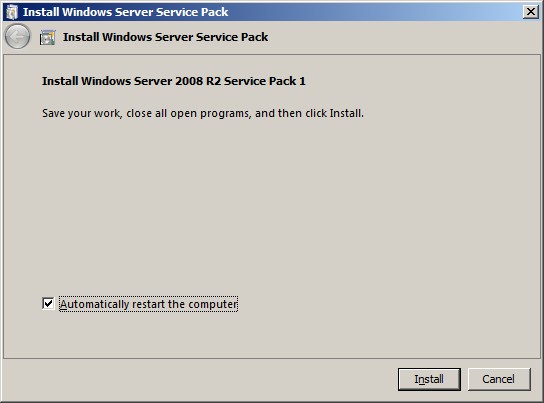
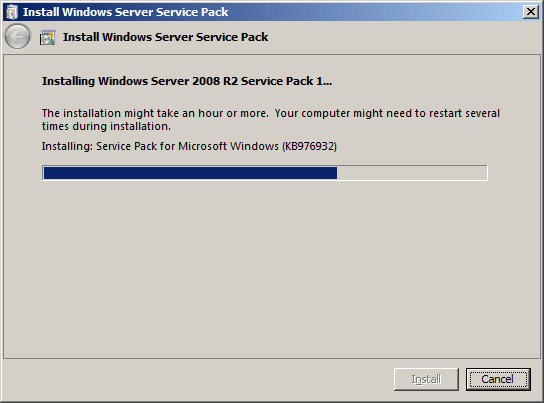
It is now ready to start the upgrade and yes we want it to reboot automatically when needed:

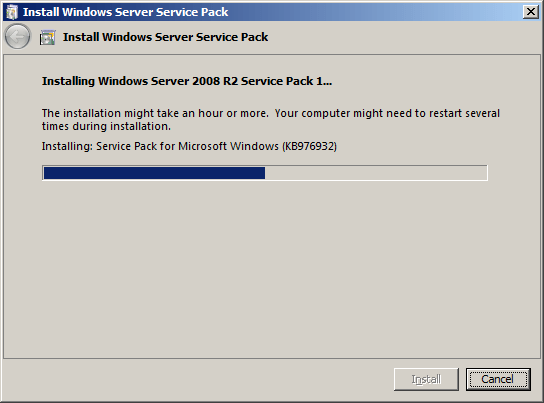
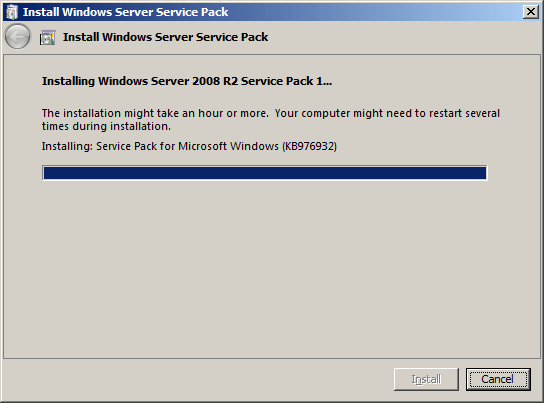
The upgrade process takes a while (about 17 minutes on my lab servers):


When it’s done it will reboot and bring you back to the logon screen. Multiple reboots might be needed to complete the upgrade process depending on what’s running on your server. In this case, we are dealing with dedicated Hyper-V nodes.

View when connected to the console

View when connected via RDP

After logging on you are greeted with this window:

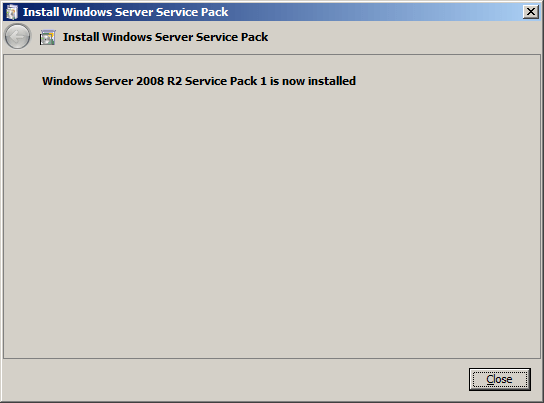
And yes this is indeed the case

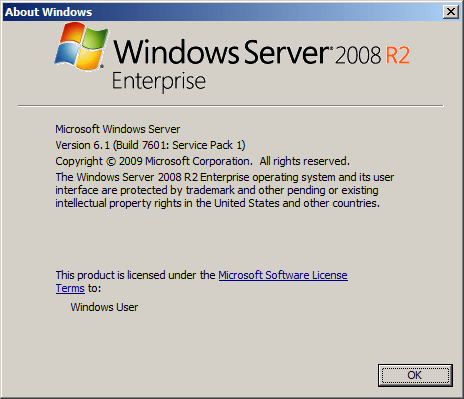
Reboot included the entire process took about 22 to 23 minutes. In the setup event log you’ll find these messages:

  • Initiating changes for package KB976932. Current state is Absent. Target state is Installed. Client id: SP Coordinater Engine.
  • Package KB976932 was successfully changed to the Installed state.

Note: if an extra reboot is required you’ll see an extra entry in between these stating: A reboot is necessary before package KB976932 can be changed to the Installed state.

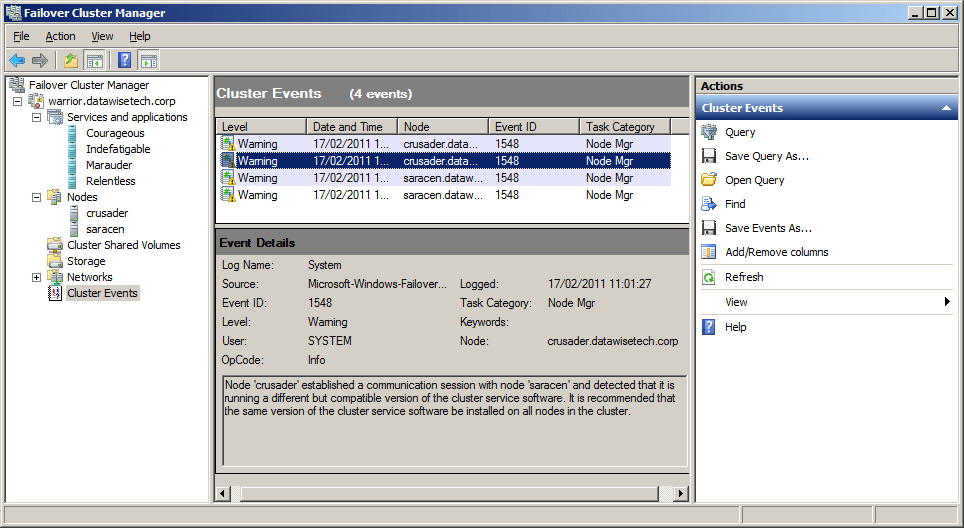
When you have a cluster with nodes running both W2K8R2 TM and W2K8R2 SP1, mixed situation so to speak,  you’ll see the following notification in the cluster events:

You can live migrate the guest from the next node to the node already upgraded to SP1 and than repeat the process. You keep doing this until all your nodes are upgraded.

As a final recommendation, I would suggest waiting until you get the SCVMM2008R2 SP1 bits is you use this product before you upgrade your clusters especially when using this with SCOM2007R2 PRO Tips. Otherwise, you don’t need to wait just realize that until you have SP1 for SCVMM2008 R2 you won’t be able to use the new functionality for Hyper-V. In production, I would not recommend using the RC1 for this.

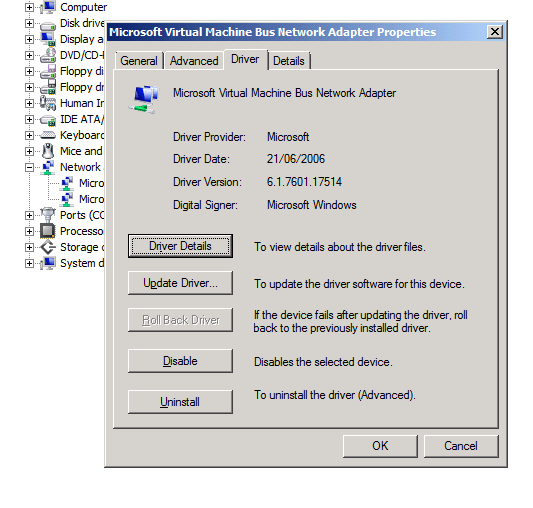
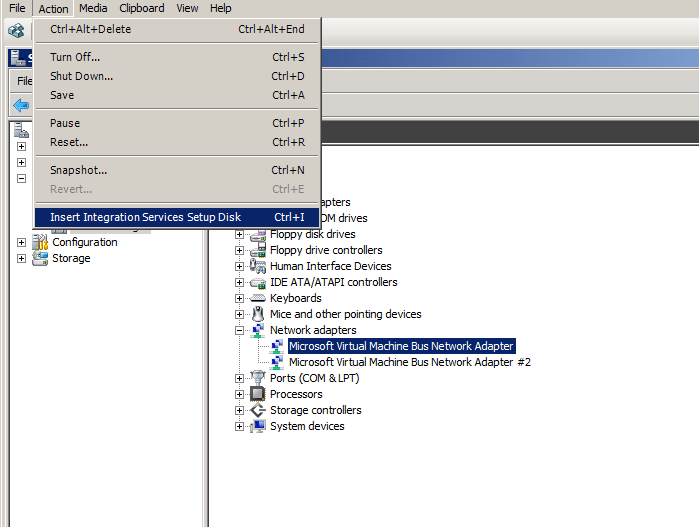
Please do not forget to update your guests with the new SP1 version of the Hyper-V Integration Components. This is needed to be able to use the new features like Dynamic Memory & Remote FX. The Windows 2008 R2 RTM version of the Integration Components is  6.1.7600.16385:

image

You can do this using Hyper-V Manager through selecting “Insert Integration Services Setup Disk”  and running the setup, this will require a reboot.

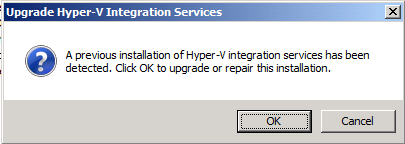
Click to start the upgrade process.

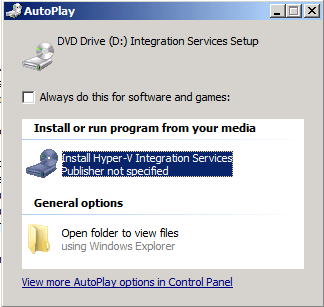
It will ask to upgrade or repair the previous version:
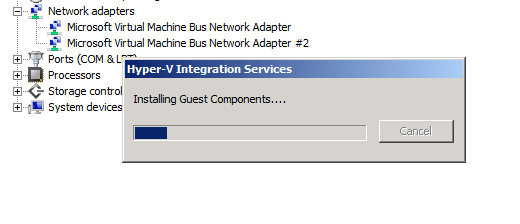
Work in progress:

Done and asking for a reboot:

SCVMM2008R2 can also be used, here you shut down the guest before updating the virtual guest services as it’s called in SCVMM2008R2. It can be annoying that the nomenclature differs. The good thing here is that you can upgrade multiple guest using VMM2008R2. Hans Vredevoort did a blog post on this here: http://www.hyper-v.nu/blogs/hans/?tag=windows-server-2008-r2-sp1.  After the upgrade you can see that the version of the Integration Components  for Windows 2088 R2 SP1 is  6.1.7601.17514:

Shameless Plug For Mastering Hyper-V Deployment By Aidan Finn

In October 2010 Aidan Finn (MVP) his book “Mastering Hyper-V Deployment” was released and in November three copies of this book landed on my desk. I bought them (pre order) via Amazon. Nope I did not get them as a gift or anything. Why Three? Well that’s the number of people I wanted to get up to speed about Hyper-V and virtualization management and operations in a Microsoft environment.

His book takes you along a journey through a Hyper-V project that will teach you about virtualization in all it’s aspects. It also touches on many supporting technologies and products such as System Center Virtual Machine Manager 2008 R2, System Center Essentials 2010, Data Protection manager 2010 and System Center Operations Manager 2007 R2. No one book can be the only source of knowledge and understanding, but using this book as a start for both new and experienced IT Pros to learn about virtualization with Hyper-V will give you the best possible start. Consider it going to an Ivy league college on a scholarship paid for by Aidan’s experience and hard work. The subsidized tuition fee is the price of the book.

We feel a bit sorry that Aidan only got one copy so we made a group picture of the gang of three on the desk of our newest team member. He got a copy of the book together with 4 recycled PC’s and a TechNet subscription to build a lab.

If you know people who want or need to learn about Hyper-V, you’d do well to make sure they get this book and have them set up a lab to play with the technologies. Those efforts will pay off big time when they implement their solutions in the wild. If Ireland is doomed it won’t be because of smart & hardworking Irish IT professionals like Aidan. You see when you design, build and support IT solutions that your customers depend on 24/7 you can not hide behind false promises, you can’t fake away from the fact when “stuff” doesn’t work or hide behind vast amounts of papers & documents void of any substance. Nope, you are responsible for everything and anything you build. Aidan backed and supported by some very knowledgeable colleagues has made that burden a bit lighter for you to bear with this book. Aidan’s blog lives here: http://www.aidanfinn.com/

A Hardware Load Balancing Exercise With A Kemp Loadmaster 2200

I recently had the opportunity to get my hands on a hardware load balancer for a project where, due to limitations in the configuration of the software, Windows Network Load Balancing could not be used. The piece of kit we got was a LoadMaster 2200 by Kemp Technologies. A GPS network/software services solution (NTRIP Caster) for surveyors needed load balancing, not only for distributing the load, but also to help with high availability. The software could not be configured to use a Virtual IP address of a Windows Load Balancer cluster. That meant when had to take the load balancing of the Windows server nodes. I had been interested in Kemp gear for a while now (in function of some Exchange implementations) but until recently I did not get my hands on a LoadMaster.

We have two networks involved. One the 192.1683.2.0/24 network serves as a management, back-office network to which the dial access calls are routed and load-balanced to 2 separate servers WebSurvey01 and WebSurvey02 (running VMs running on Hyper-V). The Other network is 192.168.1.0/24 and that serves the internet traffic for the web site and the NTRIP data for the surveyors, which is also load balanced to WebSurvey01 and WebSurvey02. The application needs to see the IP addresses of the clients so we want transparency. To achieve this we need to use the gateway of the VIP on the Kemp load balancer as the gateway. That means we can’t connect to those apps from the same subnet, but this is not required. The clients dial in or come in from the internet. A logical illustration (it’s not a complete overview or an exact network diagram) of such a surveyor’s network configuration is shown below.

Why am I using layer 7 load balancing? Well, layer 4 is a transport layer (which is transparent but not very intelligent) and as such is not protocol aware while layer 7 is an application layer and is protocol aware. I want the latter as this gives me the possibility to check the health of the underlying service, filter on content, do funky stuff with headers (which allows us to give the clients IP to the destination server => X-Forwarded-For header when using layer 7), load balance traffic based on server load or service etc. Layer 7 not as fast as layer 4, as there is more things to do, code to run, but when you don’t overload the device that not a problem as it has plenty of processing power.

The documentation for the KEMP LoadMaster is OK. But I really do advise you to get one, install it in a lab and play with all the options to test it as much as you can. Doing so will give you a pretty good feel for the product, how it functions, and what you can achieve with it. They will provide you with a system to do just that when you want. If you like it and decide to keep it, you can pay for it and it’s yours. Otherwise, you can just return it. I had an issue in the lab due to a bad switch and my local dealer was very fast to offer help and support. I’m a happy customer so far. It’s good to see more affordable yet very capable devices on the market. Smaller projects and organizations might not have the vast amount of server nodes and traffic volume to warrant high-end load balancers but they have needs that need to be served, so there is a market for this. Just don’t get in a “mine is bigger than yours” contest about products. Get one that is the best bang for the buck considering your needs.

One thing I would like to see in the lower end models is a redundant hot-swappable power supply. It would make it more complete.  One silly issue they should also fix in the next software update is that you can’t have a terminal connection running until 60 seconds after booting or the appliance might get stuck at 100% CPU load. Your own DOS attack at your fingertips. Update: I was contacted by KEMP and informed that they checked this issue out. The warning that you should not have the vt100 connected during a reboot is an issue the used to exist in the past but is no longer true. This myth persists as it is listed on the sheet of paper that states “important” and which is the first thing you see when you open the box. They told me they will remove it from the “important”-sheet to help put the myth to rest and your mind at ease when you unbox your brand new KEMP equipment. I appreciate their follow up and very open communication. From my experience, they seem to make sure their resellers are off the same mindset as they also provided speedy and correct information. As a customer, I appreciate that level of service.

The next step would be to make this he setup redundant. At least that’s my advice to the project team. Geographically redundant load balancing seems to be based on DNS. Unfortunately, a lot of surveying gear seems to accept only IP addresses so I’ll still have to see what possibilities we have to achieve that. No rush, getting that disaster recovery and business continuity site designed and setup will take some time anyway.

They have virtual load balancers available for both VMware and Hyper-V but not for their DR or Geo versions. Those are only on VMware still. The reason we used an appliance here is the need to make the load balancer as independent as possible of any hardware (storage, networking, host servers) used by the virtualization environment.

Building A New Lab For 2011 And Beyond

Well with all this (Hyper-V) Clustering, Virtualization, System Center Suite, Exchange 2010 & Lync, SQL Servers, iSCSI demands on my lab network  I really need to refresh my hard ware. It sounds a bit like a paradox but such is life for the people building all this stuff. Yes, they still need some hardware, pretty beefy machines actually, to set it all up, test it, break it, fix it and keep learning. I’ve depleted my 4 years old lab material which in which I can’t put more than 4 GB RAM.  Now that I have finished all my infrastructure projects for 2010 I have time to focus on improving my old setup. Or at least I hope. Things are very busy. Thanks to W2K8R2 SP1 beta I could use Dynamic Memory which helped to keep churning away with these and various Exchange setups but now with Lync coming into the picture I want and need an upgrade.  A couple of SQL Servers in various high availability setups help eat any remaining resources resources . Add to that the fact that I want to do some private cloud testing so there it is. I need hosts with at least an Intel Quad Core  (i7) and at least 16 GB of DDR3 memory. They should have room for extra NIC cards. And I always try to get some speedy disks where it matters.  Now since Windows Server 2008 R2  added support for Second Level Address Translation (SLAT), which Intel calls Extended Page Tables (EPT) and which AMD calls Nested Page Tables (NPT) or Rapid Virtualization Indexing (RVI), we can make use of better graphics cards. Until now none of my processors had SLAT support.  With the Intel i7 (Nehalem) processor I’m good to go. As all machine in my lab are Intel so I’m sticking with them for Hyper-V migrations as that doesn’t work between brands.

So here’s an logical overview of my setup. This is what I already in place with my current hardware but have now drawn with my coveted hardware refreshment Smile Oh, yes the dual 1Gbps switches for iSCSI are new for this setup. I’m adding one so I can play with MPIO in the lab.

For disks I use 300GB – 16MB – 10.000 rpm and 600GB –32MB – 10.000rpm Raptors in combination with an external eSATA 1TB/2TB Western Digital Black Disk for storage of VHD’s, Images, backups etc.  I have to buy some extra now. The faster disks are expensive but a lab environment needs some performance as waiting around for servers & virtual machines becomes a major of annoyance when you need to get work done. The 10.000 rpm disks are great for iSCSI storage for which I use the iSCSI Target from Windows 2008 R2 Storage server via my TechNet subscription.

All this kit should keep me up and running from 2011 until the end of 2014. Is this expensive? Yes and no.  I can recuperate my 1 Gbps Intel NIC’s and most of my hard disks.  I already have my network switches, monitors and KVM switches. So in all it’s the new motherboards, CPU’s and memory that will eat the  most of the budget.  It’s a sum to put out but here’s a note to all IT Pro’s out there. You need to invest in yourself every now and then.

I’ve blogged about this before in https://blog.workinghardinit.work/2010/02/04/having-a-lab-using-it/. Self improvement and learning is a continuous process that never ends. Sure it does have some peak moments in financial costs when you need equipment. Remember you don’t need to buy it all at once. Talk to you employer about this if you’re not self employed. Look at how much a 5 day advanced course or a conference costs. You can use a lab to learn and experiment for many years to come. So basically the potential ROI is very good. In the end, what my employers and customers get out of this is knowledge, insight, skills and results. Think about it, it helps to put the investment in perspective. Sure, I invest more than just the hardware, my time which is very valuable to me. You can’t maker more time, everyone has the same 24 hours in a day. Now it really helps if you like this stuff and have fun whilst learning new technologies or setting up a proof of concept. In a way what people put into their job and knowledge is  an indicator of their professionalism. You do not become an expert by working 9 to 5 and only learning when a course is provided. It’s not going to happen. Even a genius who puts in the effort stands out amongst his or her peers. The same goes for you, but be smart about it. You can work yourself to death and not accomplish anything. So smart & hard is the way to go.