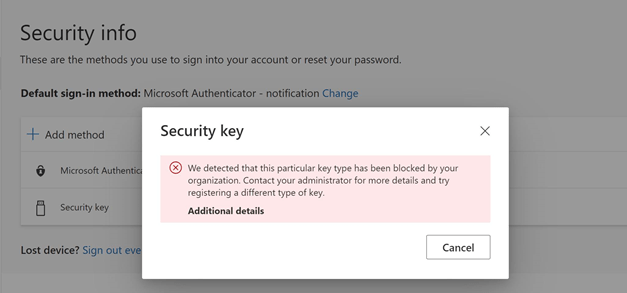
Your organization does not allow you to add your account to Microsoft Authenticator
I was testing a bunch of scenarios with passwordless authentication in Azure Active Directory on a weekend. Things were looking good. I created some test accounts and played with a bunch of permutations to see how things behaved, Think about Conditional Access policies in combination with authentication methods, etc. The aim was to have multiple passwordless authentication options per user for redundancy. On top of that, I want to have this for multiple accounts (separation of duties). That latter requirement tripped me up.
I succeeded at most of my goals. But at one moment I received the following error trying to register the Microsoft Authenticator app on my phone for one of my test users. Warning “Account not added” and the message “Your organization does not allow you to add your account to Microsoft Authenticator” What’s going on here?

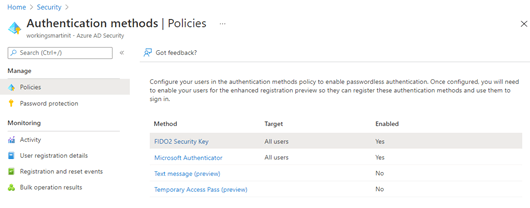
Passwordless sign-in with the Microsoft Authenticator app
First of all, before you can create this new strong credential, there are prerequisites. One prerequisite is that you must register the device on which you installed the Microsoft Authenticator app within the Azure AD tenant to an individual user. In that requirement lies the answer to our error message.
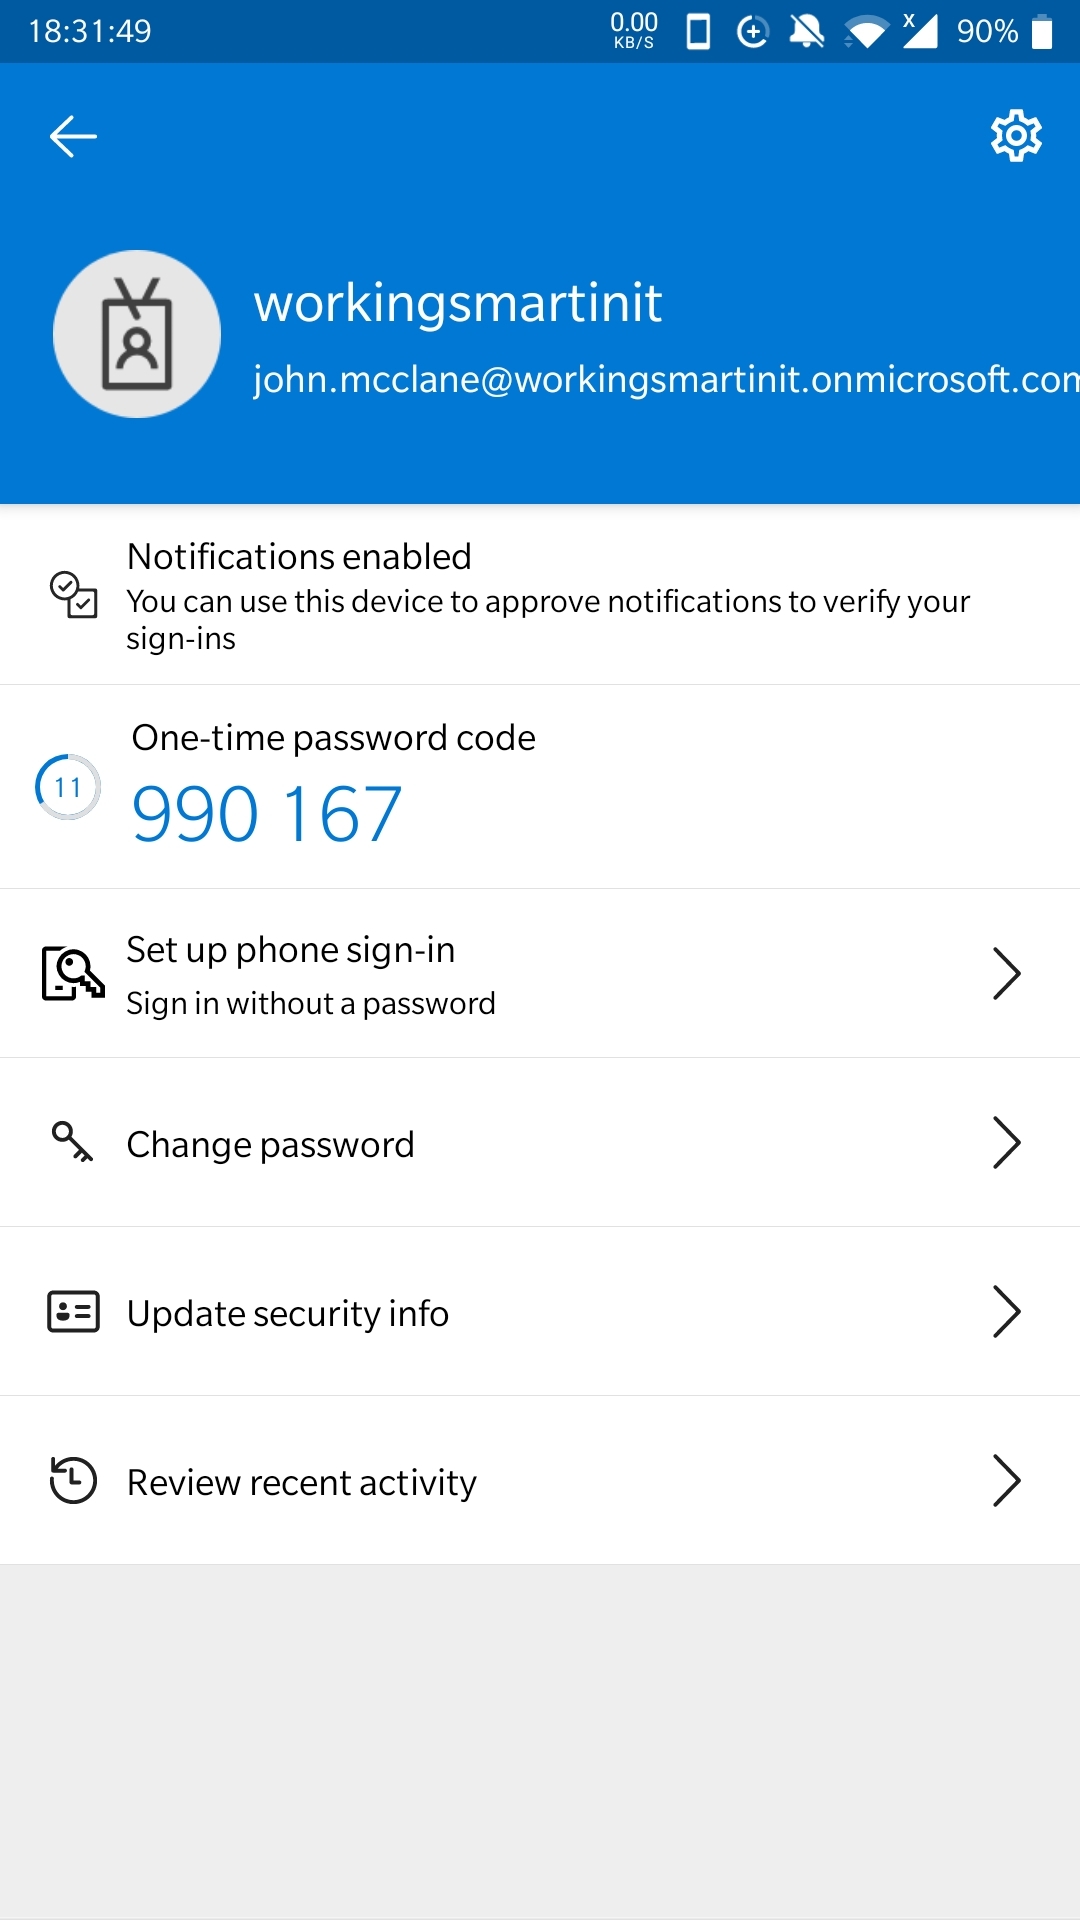
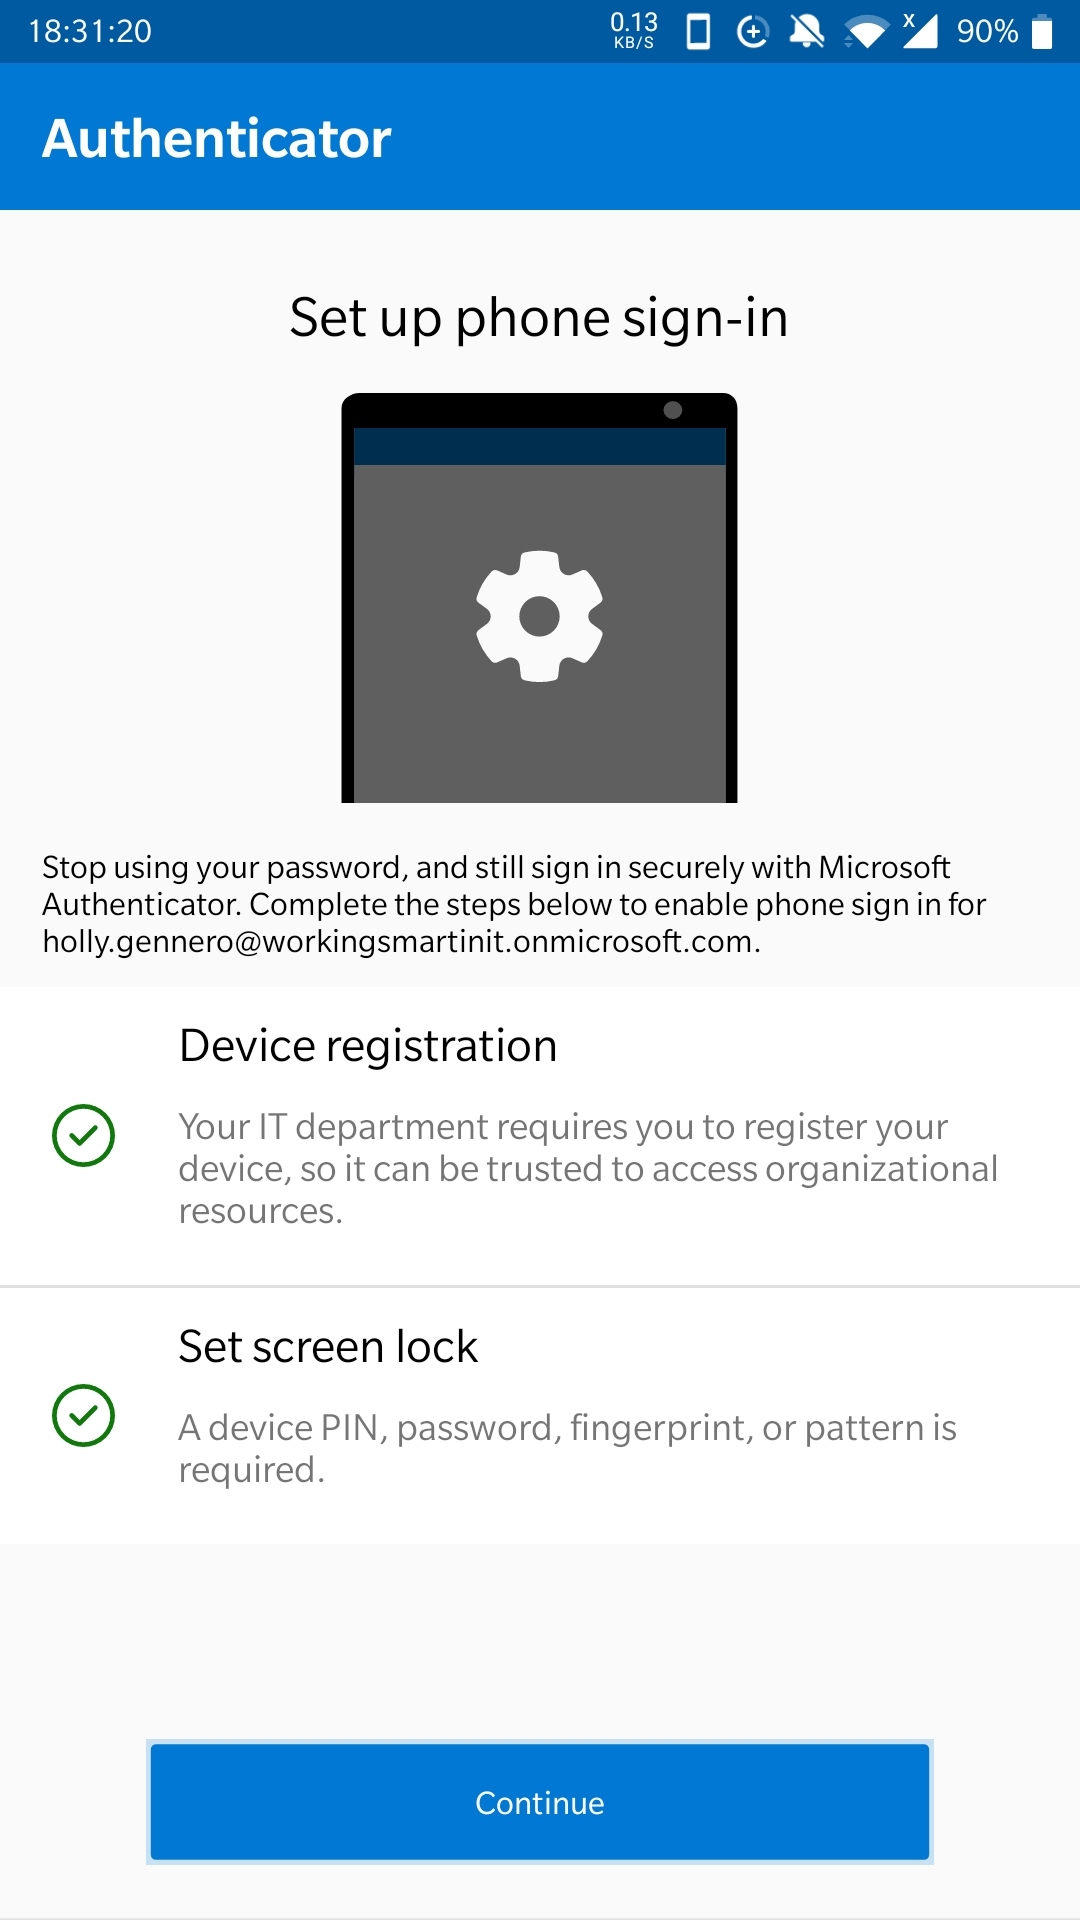

Currently, you can only register a device in a single tenant. This means you can enable only one work or school account in the Microsoft Authenticator app for passwordless sign-in.
So we can only use our smartphone with the Microsoft Authenticator app in a single-tenant, with a single user. And that’s why I got the error. I already had another test user on that phone set up sign-in without a password. My device is already registered for another user in Azure AD in that tenant. There can be only one.
Do note that you can still use the authenticator app as an MFA method with your password. It is the passwordless scenario that doesn’t work under these conditions.
Achieving my goals
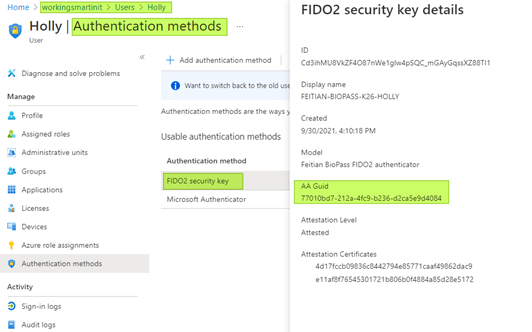
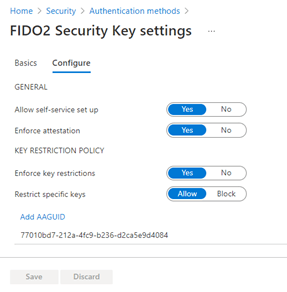
This is annoying when testing but it can also be annoying in real life. I tend to have multiple accounts in an Azure AD. I log in with a different account depending on what work I need to do and what roles/rights this requires. That’s why I like FIDO2 security keys with biometrics as a passwordless option.
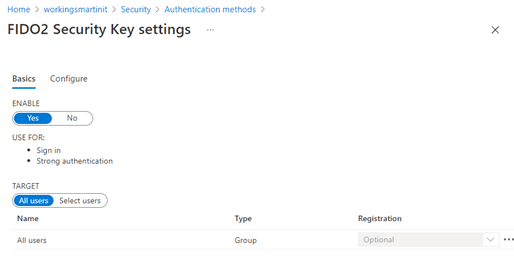
What I need is a passwordless solution I can use with multiple accounts in the same and other tenants. That, I can do this with my FIDO2 BioPass security key from FEITIAN just fine. I can register my security key with multiple accounts and be on my way. With one smartphone with the Microsoft Authenticator app installed, you cannot add multiple accounts on the phone for passwordless authentication (device registration) at this moment in time. That’s what the error message means to tell you but the wording confused me for a while.