Introduction
What is a BNA 14.4.1 upgrade to DELLEMC CMCNE 14.4.4 you might ask? If you are managing a Fibre Channel fabric it is quite common to have Brocade switches running. In that case, I hope you have moved on from the Java web client to the free version of Broadcom Network Assistant (BNA). The free client was not the best end-user experience and gave us a lot of hassle just to keep running. See Manage Your Brocade Fibre Channel Switch with recent Java & browser versions.
BNA works better in a modern environment. It offers more functionality and provides for better and easier user experience. BNA itself is on the way out (EOL 2022) and will be replaced with SANNav as the Java runtime sage is reaching a point where just about the entire world has decided it is unsustainable as a future approach to management tools.
But that will take a while and we need a basic free tool to get the job done. Sure older versions still work but staying up to date is a good thing. On top of that, one of the most annoying things about BNA was the lack of support for Windows Server 2016/2019. Well BNA 14.4.4 solved that issue. So let’s upgrade! Well,l it turns out we need to do an upgrade from BNA 14.4.1 upgrade to DELLEMC CMCNE 14.4.4. Let me explain that.
Finding Brocade Network Analyzer 14.4.4
On the Brocade site, the downloads for BNA 14.4.4 are darn near impossible to find or you don’t have access to them. And if you google for that you’ll find a lot of people trying but failing to find it. It is also there that you will find the information that BNA will be replaced.
The good news is that as a DELL customer you can normally download the OEM branded version of this software. In the past, this used to be found at https://portal.broadcom.com/web/support/dell but that is no longer there. Today in the DELLEMC world, this is called Connectrix Manager – Converged Network Edition.
We are looking for version 14.4.4 and yes on the DELL website (you need to create an acount to login) you will find it at https://www.dell.com/support/home/us/en/04/product-support/product/connectrix-manager-converged-network-edition/drivers. You want 14.4.4 as it supports Windows Server 2016/2019 but also because it fixes some issues with 14.4.3.

So we download it and we start our upgrade process. 14.4.4 fixed an issue with 14.4.3 that causes issues with importing an existing config by the way. So use 14.4.4.
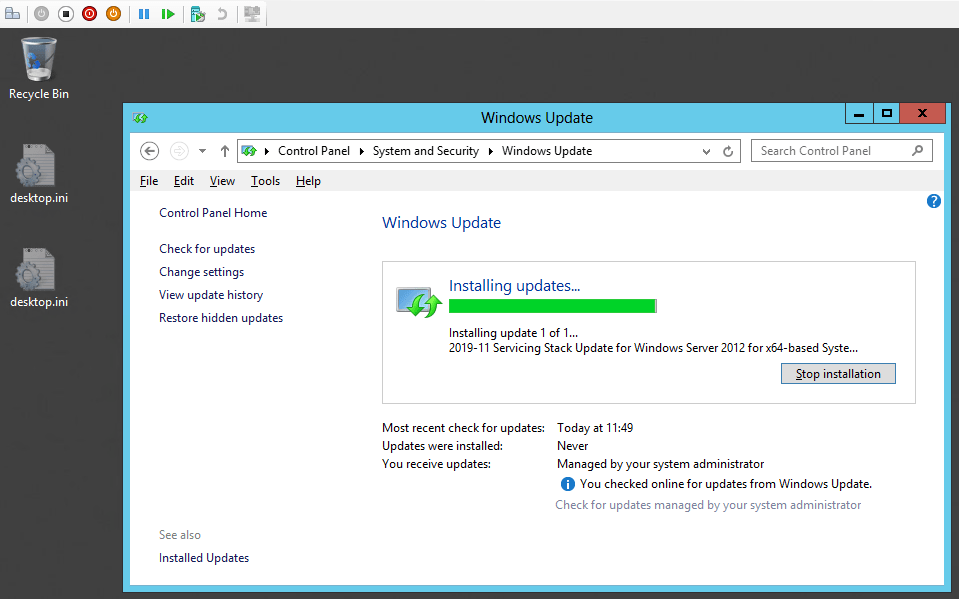
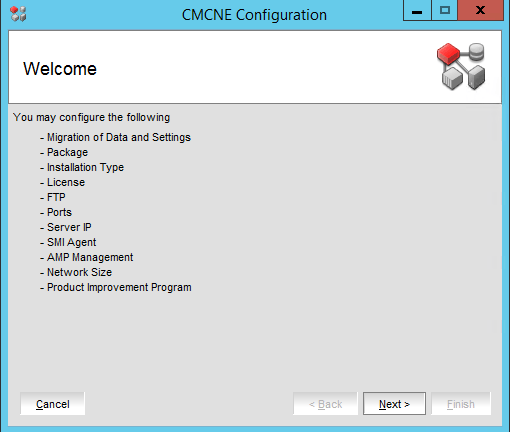
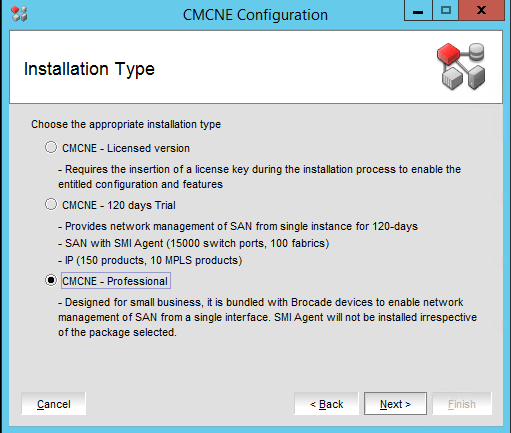
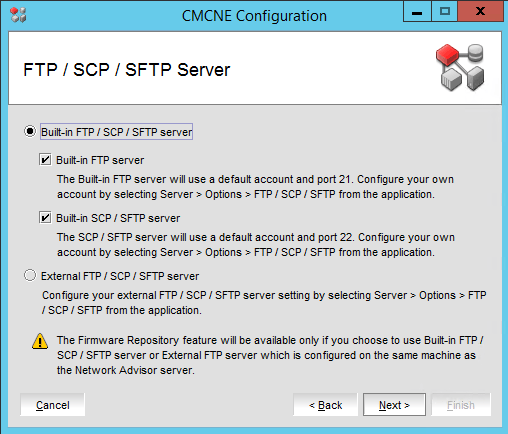
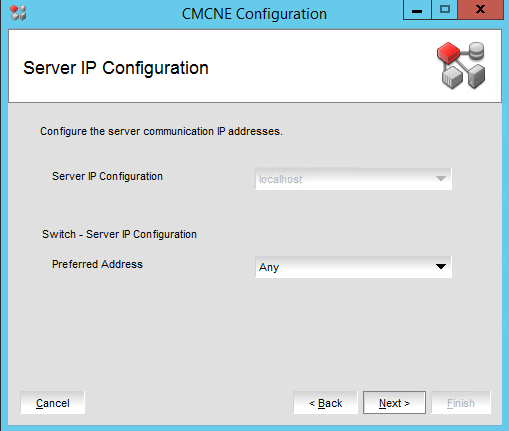
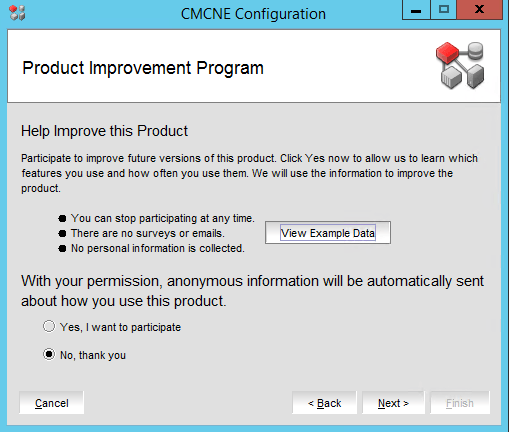
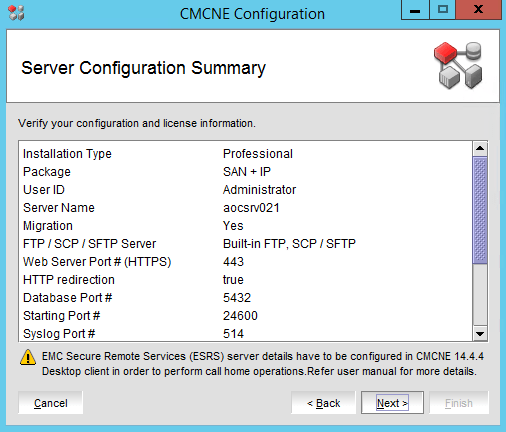
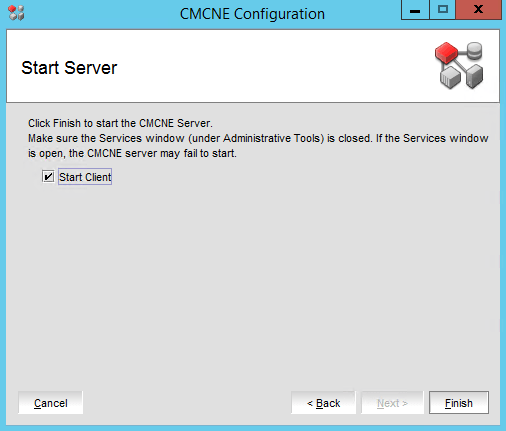
The install process in pictures

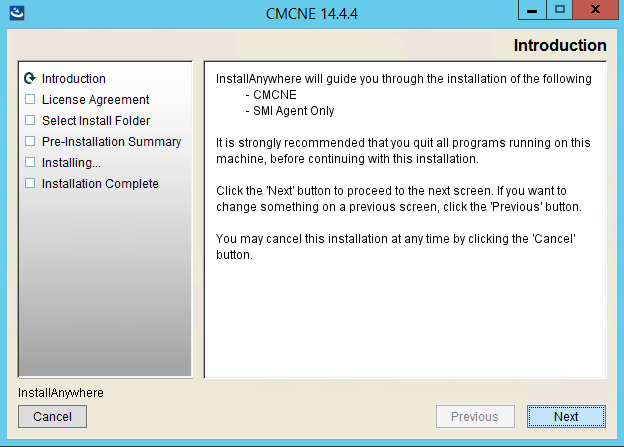
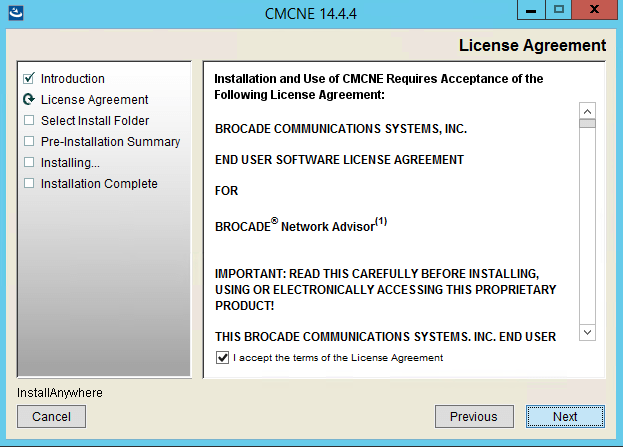
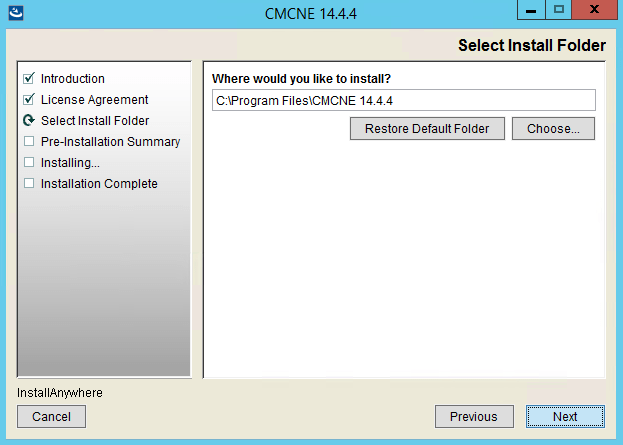
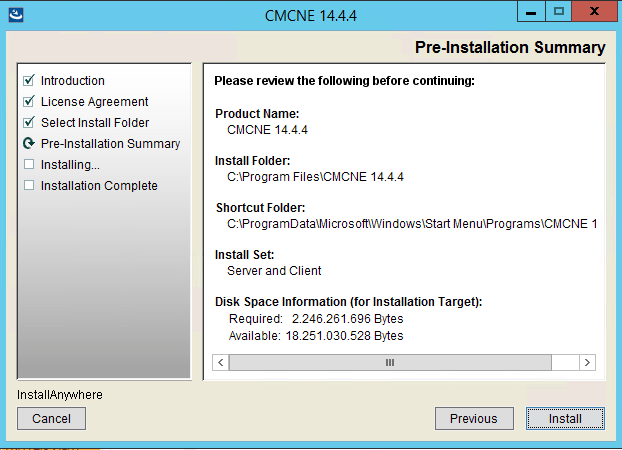
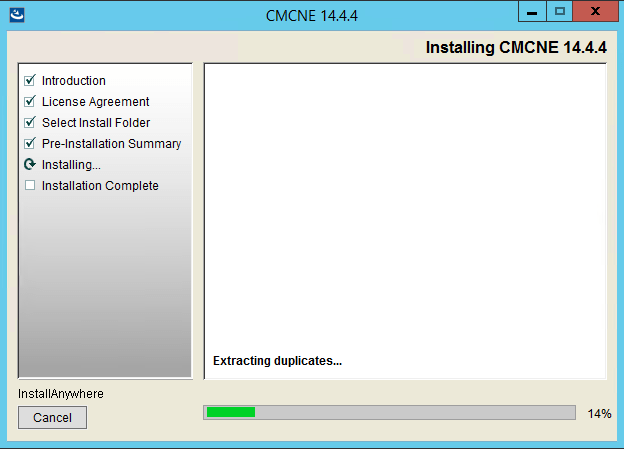
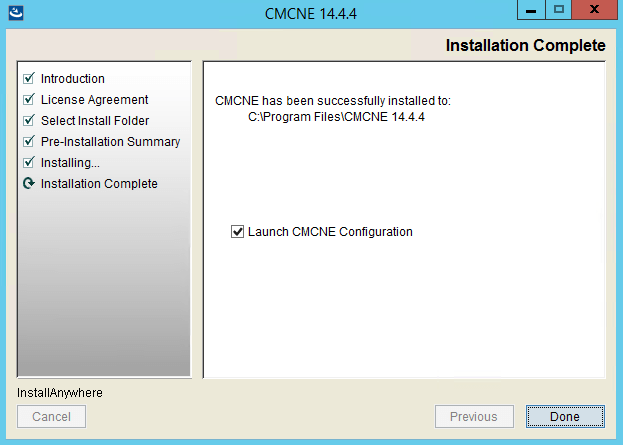
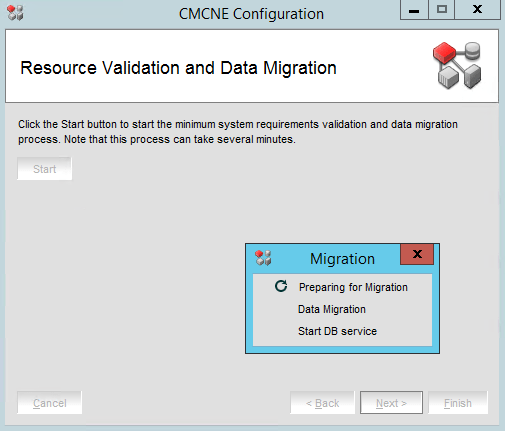
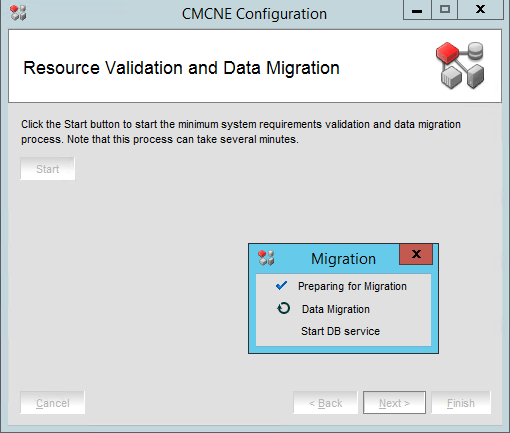
The upgrade process in pictures
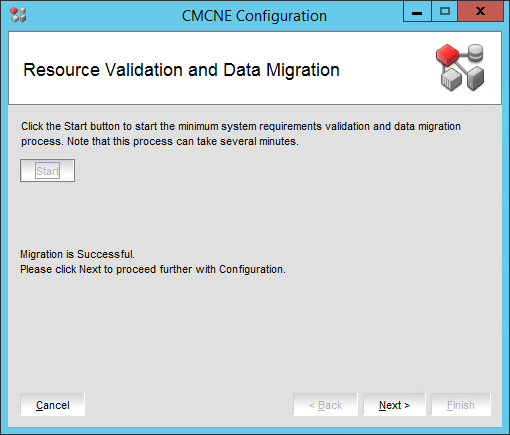

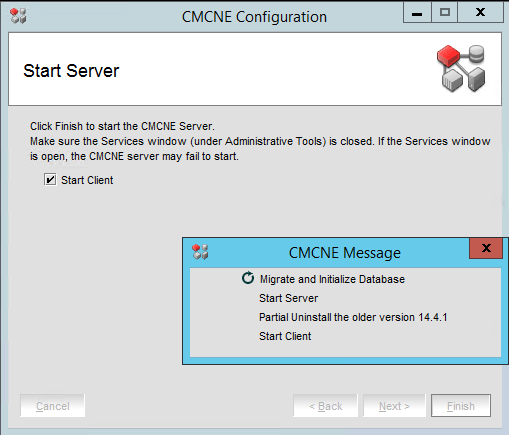
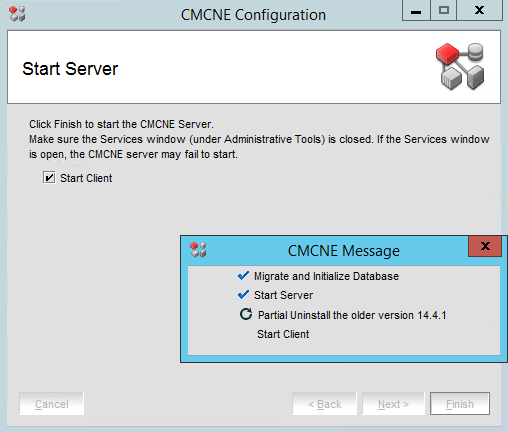
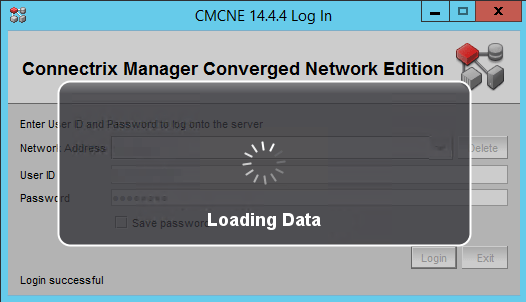

That’s it. You performed a BNA 14.4.1 upgrade to DELLEMC CMCNE 14.4.4
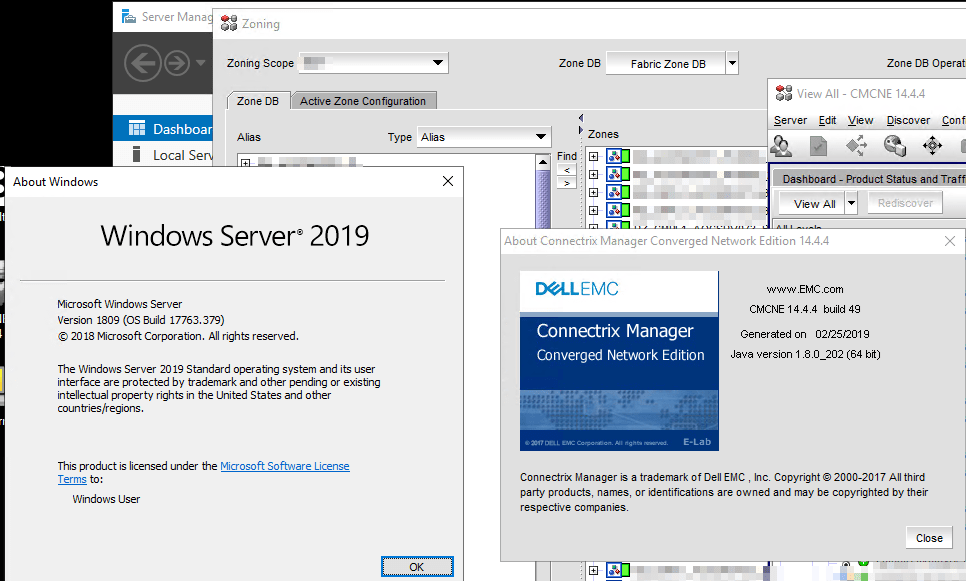
Upgrade to Windows Server 2019
Finally, we upgrade the virtual machine OS to Windows Server 2019. With 14.4.4 this is possible and we can get rid of the legacy OS we had to introduce or keep around just to run BNA. Good news all around.
Conclusion
You can become happy consultants or customers. By installing BNA 14.4.4 you keep your network fabric management software up to date. Last but not least, you can upgrade the OS version of the virtual machines running it to Windows Server 2019. This will keep us going for a couple of years in a modern, secure and capable environment until the successor is clear and available to all. I hope this helps some of you out.