Introduction
We’ll walk through a transition of a Windows Server 2012 Hyper-V Cluster to R2. For this we’ll use the Copy Cluster Roles Wizard (that’s how the Migration Wizard is now called). You have to approaches. You can start with a R2 cluster new hardware and you might even use new storage. For the process in my lab I evicted the nodes one by one and did a node by node migration to the new cluster. How you’ll do this in your environments depends on how many nodes you have, the number of CSVs and what workload they run. This blog post is an illustration of the process. Not a detailed migration plan customized for you environment.
Step by Step
1. Preparing the Target node(s)/cluster
Install the OS, add the Hyper-V role & the Failover cluster feature on the new or the evicted node.You’ll already have some updates to install only a week after the preview bits came available. Microsoft is on top of things, that’s for sure.

Configure the networking for the virtual switch, CSV, LM, management and iSCSI (that’s what I use in the lab) on the OS. Nothing you don’t know yet for this part.
Create a Virtual switch in Hyper-V manager. This is important. If you can you should give it the same name as the ones on the old cluster. Also note that the virtual switch name is case sensitive. If you forget to create one you will not be able to copy the hyper-v virtual machine roles.
Create a new Cluster & configure networking. One of the nice things of R2 is that is intelligent enough to see what type of connectivity suits the networks best and it defaults to that. It sees that the ISCSI network should be excluded for cluster use and that the CSV/LM network doesn’t need to allow client access.
On the ISCSI Target (a W2K12RTM box) I remove the evicted node from the ISCSI initiators and I add the newly installed new cluster node. You can wait to do this out of precaution but the cluster itself does leave the newly detected LUNS off line by default. On top of that it detects the LUNs are in use (reservations) and you can’t even bring them on line.
Right click the cluster and select “Copy Cluster Roles”
Follow the wizard instructions
Click Next and then click Browse to select the source cluster (W2K12)
Select “Warrior” and click OK.
Click Next and see how the connection to the old cluster is being established.
The wizard scans for roles on the old cluster that can be migrated.
In this example the results are the Roles per CSV and the Replication Broker. For migration you can select one of the CSV’s and work LUN per LUN, select multiple of them or even all. It all depends on your needs and environment. I migrated them all over at once in the lab. In real live I usually do only 1 or a couple of interdependent LUNS (for example OS, DATA, LOGS, TempDB on separate CSVs of virtualized SQL Servers).
Note that if you did not specify a virtual switch you will not see any Roles on the CSV listed. So that’s why it’s important defining a virtual switch.
As we did it right we do see all the virtual machines. As we are not migrating to new storage we have to move all VMs on a LUN in one go. That’s because you cannot expose a LUN to multiple clusters.
So we select all the clustered roles and click Next. As we use all capitals in the new virtual switch for the guests we are asked to map it manually. When the names are one on one identical AND in the same case, the mapping happens automatically. You can see this for the virtual switches for guest clustering CSV & ISCSI network connectivity.
We view the report before we click next and see exactly what will be copied.
Close the report and click Next.
Click Next again to kick of the migration.
When don you can view a report of the results. Click finish to close the wizard.
You now have copied your virtual machine cluster roles and the Replication Broker role.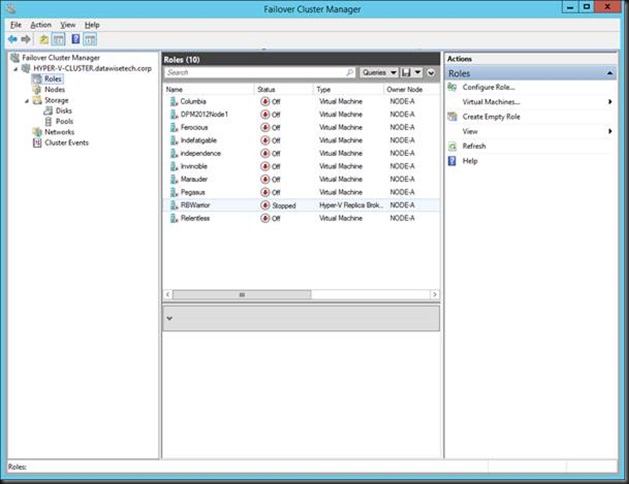
Even the storage is already there in the cluster but off line as it’s not yet available to the new cluster. Remember that your workload is still running on the old cluster so all what you have do until now is a zero down time exercise. 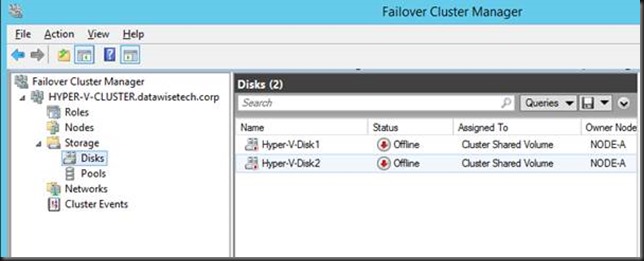
2. Preparing to make the switch on the source cluster node(s)
On the source cluster we shut down all the virtual machines and the Replication Broker role.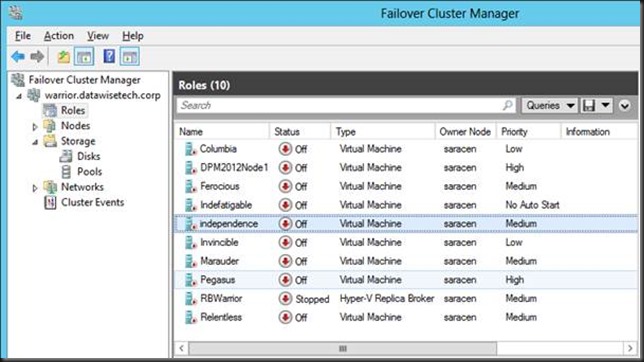
We then take the CSVs off line.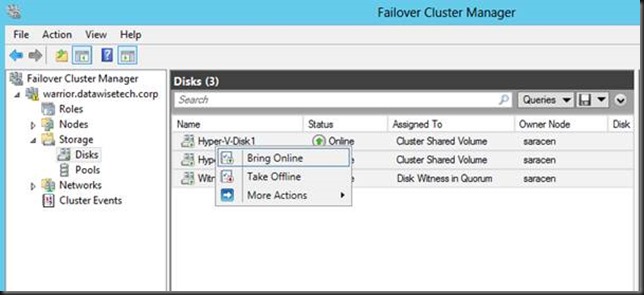
If you did not (or could not due to lack of disk space) create a new witness disk you can recuperate this LUN as well. Not ideal I a production migration but dynamic quorum will help you staying protected. Not so with Windows 2008 R2. But you’ll fight as you are. Things are not always perfect.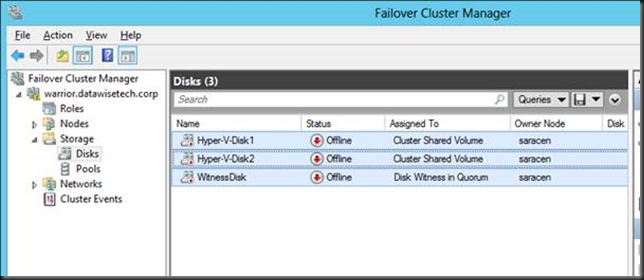
3. Swapping The Storage From the Source To The Target
We’ll now disconnect the ISCSI initiator from the target on the old cluster node and remove the target.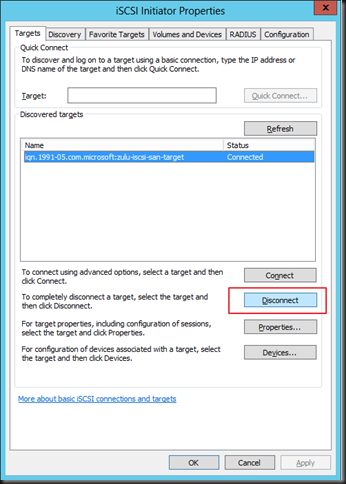
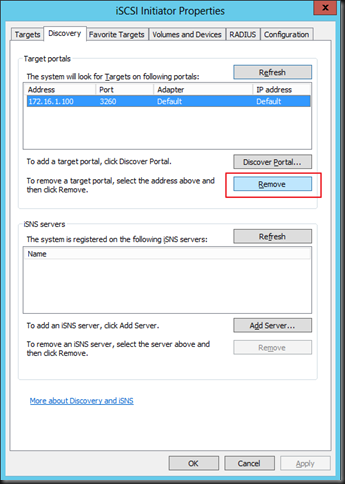
On the ISCSI target we’ll also remove the old nodes from the list of ISCSI initiators to keep the environment clean. You could wait until you see the VMs up and running on the new environment to facilitate putting the old environment back up if the migration should fail.
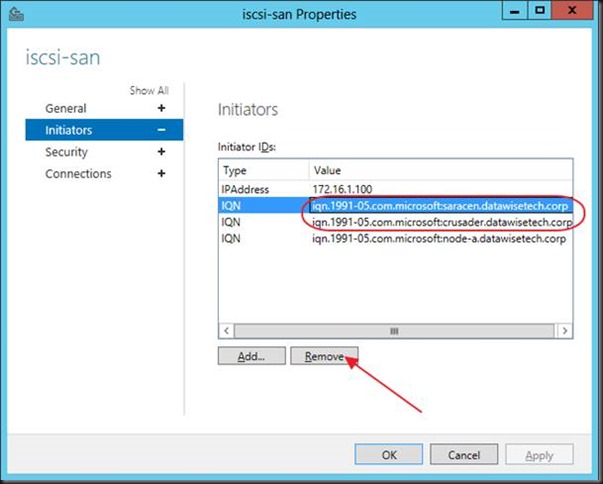
Wait until the process has completed and click apply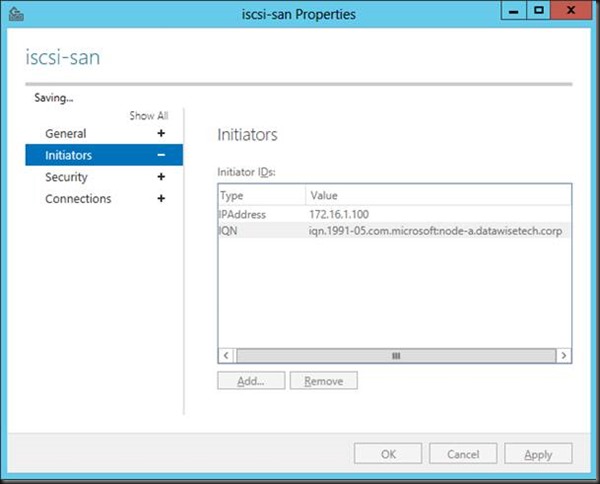
4. Bringing the new cluster into production
Bring the CSV LUNs on line on the new cluster.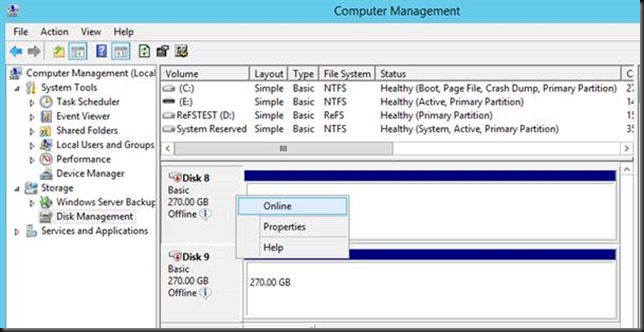
You’ll see then become available / on line in the cluster storage.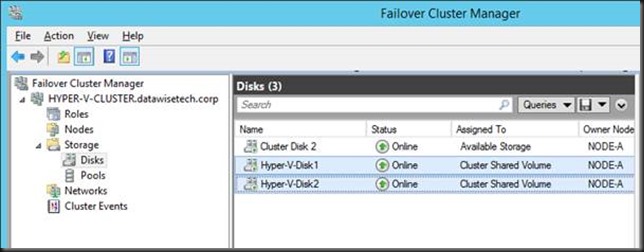
You are now ready to start up your virtual machines on the new cluster. With careful planning the down time for the services running in the virtual machines can be kept as low as 10 to 15 minutes depending on how fast you can deal with the storage switch over. Pretty neat.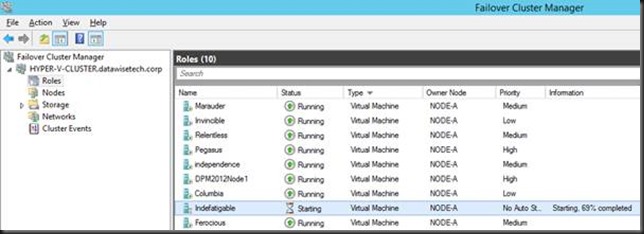
Conclusion
You can now keep adding new nodes as you evict them from the old cluster. As said the exact scenario will vary based on the workload, number of nodes and CSV in your environment. But this should give you a good head start to work out your migration part. Keep in mind this is all done using the R2 Preview bits. Things are looking pretty good.
In a future blog I’ll discuss some best practices like making sure you have no snapshots on the machines you migrate as this still causes issues like before. At least in this R2 preview.


