This is a multipart series based on some lab test & work I did.
- Part 1 Upgrading Hyper-V Cluster Nodes to Windows Server 2012 (Beta) – Part 1
- Part 2 Upgrading Hyper-V Cluster Nodes to Windows Server 2012 (Beta) – Part 2
- Part 3 Upgrading Hyper-V Cluster Nodes to Windows 8 (Beta) – Part 3
After I got back from the MVP Summit 2012 in Bellevue/Redmond I could wait to start playing with a Windows 8 Hyper-V cluster so I decided to upgrade my Windows 2008 R2 cluster nodes to Windows 8. That means evicting them on by one, upgrading them and adding them to a new Windows 8 cluster. As we can build a one node cluster this can be done a node at the time. This isn’t a fail proof definite “How To”, I’m just sharing what I did.
Evicting a node
Before evicting a node make sure all virtual machines are running on the other node(s). As you can see the cluster warrior has 2 nodes, crusader & saracen (I was listening to some Saxon heavy metal at the time I built that lab setup). We evacuated node saracen prior to evicting it.
Evict the node & confirm when asked.
When this is done all storage is off line to the node evicted from the cluster. No need to worry about that.
Upgrade that node to Windows 8
To anyone having installed/upgraded to Windows 2008 R2 this should all be a very recognizable experience. Being lazy, I left the iSCSI initiator configuration in there with the Hyper-V & failover cluster roles installed during the upgrade. Now for production environments I like to build my nodes from scratch to have an exactly known, new and clean installation base. But for my test lab at home I wanted to get it done as fast as possible. If only the days had more hours …For extra safety you can pull the plug (or disable the switch ports) on your iSCSI or FC connections and make sure no storage is presented to the node during the upgrade process. Now please do mind is use Intel server grade NIC adaptors for which Windows 8 beta has drivers. Your situation may vary so I can’t guarantee the 7 year old FC HBA in your lab server will just work, OK!?
So run setup.exe from the Windows 8 (Beta) ISO you extracted to a folder on the server or from the (bootable) USB you created with the downloaded ISO.
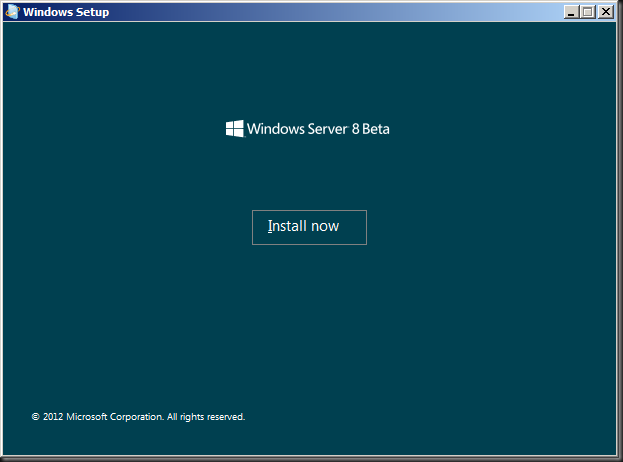
The Windows Setup installer will start.
Click on “Install now” to proceed and start the setup process.
Select to “Go online to get the latest updates for Setup (Recommended)”
So it looks for updates on line.
It didn’t find any but that’s OK.
Select the installation you want. I went with for Server with a GUI as I want screen shots. But as I wrote in the blog post Windows 8 Server With GUI, Minimal Server Interface & Server Core Lesson with the Desktop Experience Feature you can turn it into a Server Core Installation and back again now. So no regrets with any choice you make here, which is a nice improvement that can save us a lot of time.
Accept the EULA
We opt to upgrade (in production I go for a clean install)
I get notified that I have to remove PerfectDisk. I had an evaluation copy of Raxco PerfectDisk installed I used to do some testing with redirected CSV traffic and defragmentation (see Some Feedback On How to defrag a Hyper-V R2 Cluster Shared Volume).
So the upgrade was cancelled.
I uninstalled PerfectDisk but still it was a no go. I had to remove all traces of it in the registry & files systems that the uninstall left or the upgrade just wouldn’t start. But after that it worked.
That means we can kick of the upgrade! It all looks very familiar ![]() It takes a couple of reboots and some patience. But all in all it’s a fast process.
It takes a couple of reboots and some patience. But all in all it’s a fast process.
After this step it takes a couple of reboots and some patience. But all in all it’s a fast process. After some reboots and a screen that goes dark in between those …we get our restyled beta fish.
And voila we’re where we need to be … ![]()
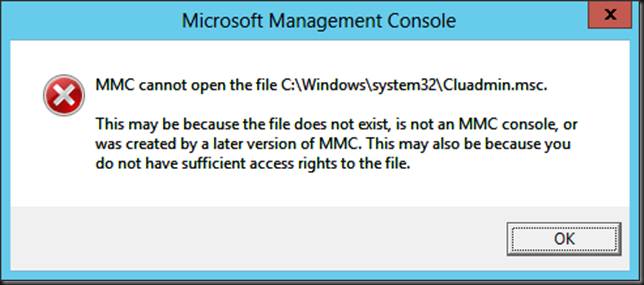
After the upgrade process I ran into one error. The GUI for Failover Clustering would not start. The solution if found for that was simply to remove that role and add it again. That did the trick.
So this was a description of the first steps to transition a Windows 2008 R2 SP1 cluster to a Windows 8 (Beta) Cluster. As seen we evict the nodes one by one to upgrade them or do a clean install. In the latter case you’ll need to do the iSCSI initiator configuration again, install the Failover Cluster role and in the case of a Hyper-V cluster the Hyper-V role. The nodes can than be added to a new Windows 8 cluster, starting out with a one node cluster. More on that in the second part of this blog post.


Pingback: Haftanın Sonu Bölüm 3: 1/4/12 | Sanallaştırma ve Yönetimi Üzerine Notlar
Pingback: Upgrading Hyper-V Cluster Nodes to Windows 8 (Beta) – Part 2 | Working Hard In IT
Pingback: Upgrading Hyper-V Cluster Nodes to Windows Server 2012 (Beta) – Part 3 | Working Hard In IT
Pingback: Microsoft Virtualisierungs Podcast Folge 20: MMS2012 « Rachfahl IT-Solutions
Pingback: Moving Clustered Virtual Machines to Windows Server 2012 with the Cluster Migration Wizard | Working Hard In IT