Part II
Restoring the Backup – P2V
This series describes a physical to virtual migration of a Windows Server 2008 SP2 Standard x64 on a Dell Power Edge one unit rack server with SATA disks (PE750). In fact that was the first production Windows 2008 server ever at that company, they really wanted to use the RTW FTP over SSL functionality. For this exercise we had no use of commercial P2V tools and the original server had to be kept running during the virtualization exercise. The aim was to achieve this with the free / built in tools as much as possible. The hands on approach also provides for an excellent learning opportunity. We have reconstructed our experiences for this article and will discuss the subject for both Windows 2008 and Windows 2008 R2.
Part I: https://blog.workinghardinit.work/2010/01/27/using-windows-2008-r2-backups-to-go-virtual-2/
Parrt III: https://blog.workinghardinit.work/2010/02/02/using-windows-2008-r2-backups-to-go-virtual-part-iii/
This will probably be the most “boring and redundant” part of the series. A very good post about this process for Windows Server 2008 can be found on the internet @ http://blogs.technet.com/askcore/archive/2009/02/04/windows-server-backup-2008-restore-from-network-location.aspx. They also discuss the command line (wbadmin.exe) way of doing it. So check it out if you need to do that. I did a restore of a Windows Server 2008 R2 machine for this demonstration for completeness. You’ll see that some of the redundant messages during a restore have been fixed and the work flow has been stream lined.
If you did the preparations for the virtual machine mentioned in Part I correctly this part will hopefully be an uneventful activity. Apart from the fact that you do a bare metal recovery from the backup of a physical server to a virtual server which is pretty cool, the result of this restore is the virtualized server with mirrored dynamic disks we’ll have some fun with in Part III. But in the end Part II is a GUI walk through the restore process for illustration purposes as this series is part of a workshop/documentation paper on Windows 2008 (R2) backup and restore for internal/personal use.
Walk Through
We boot the virtual machine we prepared in part I from the Windows 2008 R2 DVD ISO image that we the mounted via the setting for our virtual machine in Hyper-V.
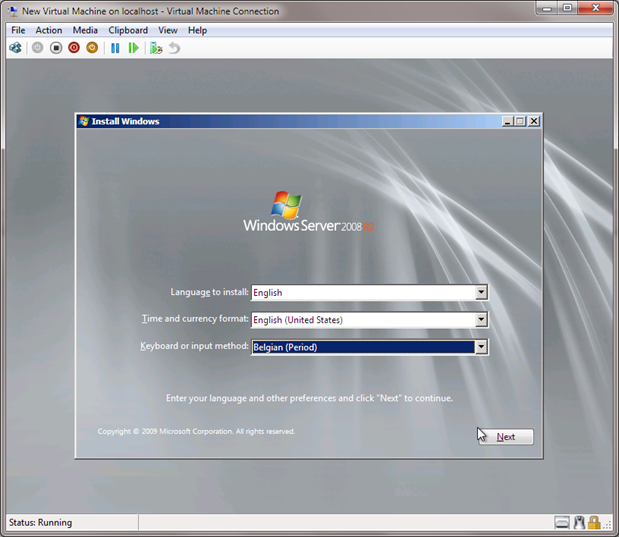
We choose the desired language/keyboard settings and click “Next”.
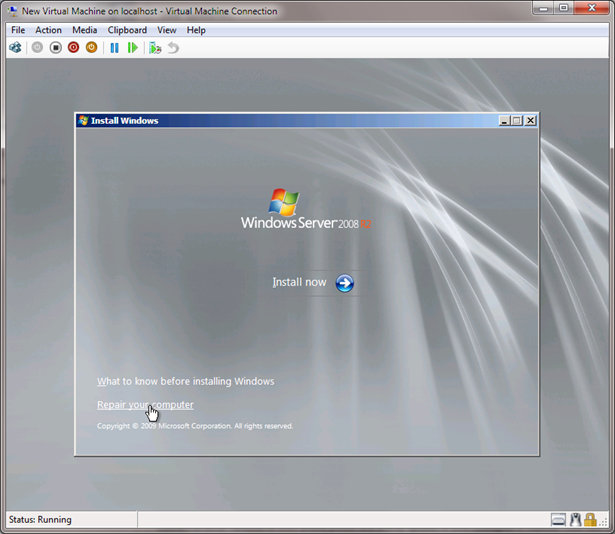
We’re not going to install Windows but do a restore so we need to select “Repair your computer”.
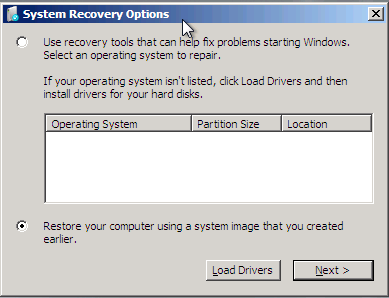
We’re using a blank virtual machine, so the fact we do not see any installed operating system is no reason, to worry. Select to “Restore your computer using a system image that you created earlier.” and click Next.
At the “Select a system image backup” Click “Next” and your system will be scanned for system image disks
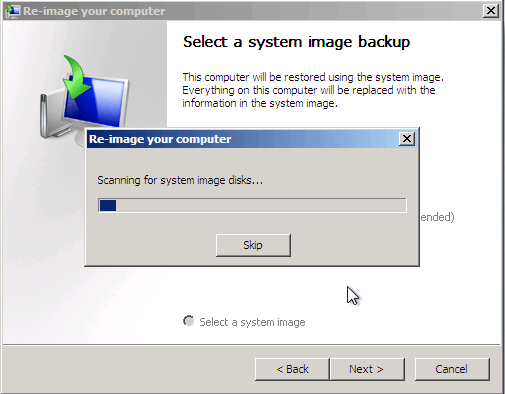
You will get a warning that “A valid backup location could not be found”. Just ignore this and click “Cancel”. It’s perfectly OK.
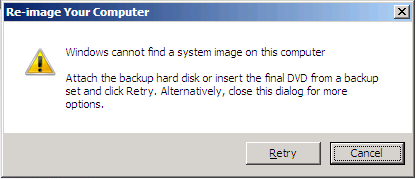
No latest available and automatically found images appear. This is logical as “a valid backup location could not be found (we have our backups done to a network share) and this is bare metal recovery. It would be spooky if something was found. Select “Restore a different backup” and click “Next”.
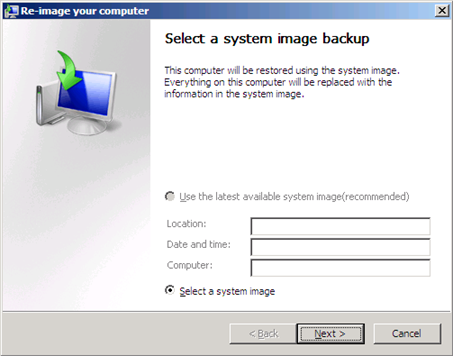
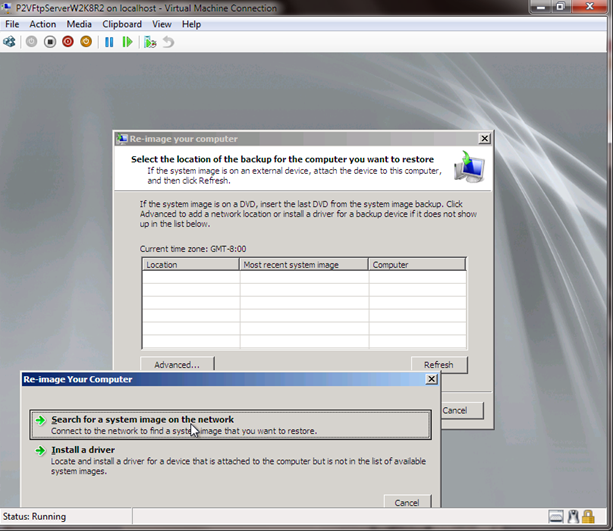
Click Advanced. You do not need to install a network driver if you prepared the virtual machine with a legacy network adapter, that driver is included in the Windows Server 2008/R2 DVD so that it just works. The synthetic driver is not included in Windows Server 2008 DVD but it is in Windows Server 2008 R2 DVD.
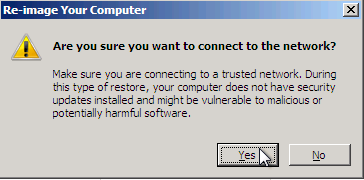
It will ask “Are you sure you want to connect to the network”, which is what we want and then specify the path of your backup. Remember the remarks if you do not have name resolution you can use the IP address. Also make share you have the credentials needed to access the share, you really need those.
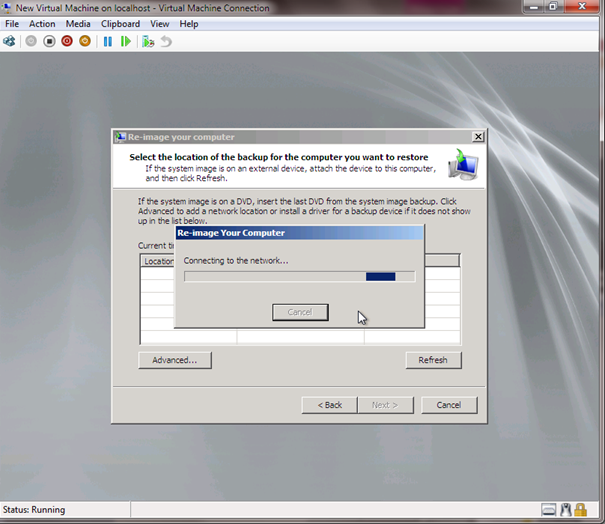
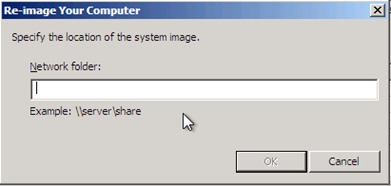
Fill out the UNC path to where you store your backups. That is the path that points to the root where the “WindowsImageBackup” folder resides.
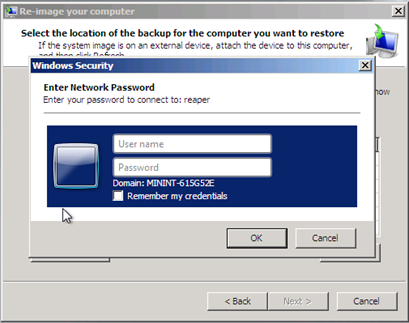
When asked for credentials please provide ‘m.
Select the backup listed and then click “Next”.
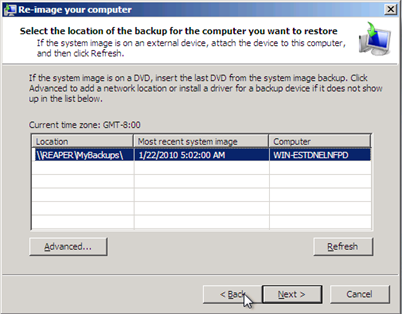
Select the desired system image and then click “Next”.
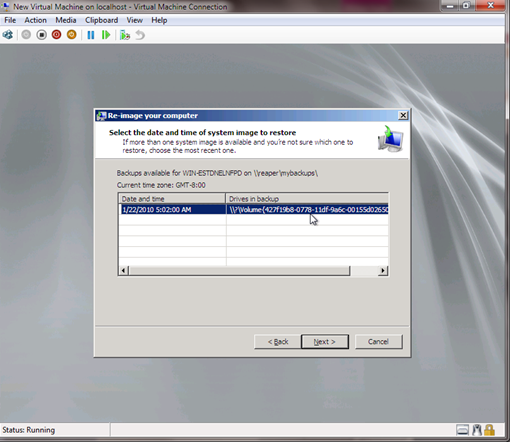
You are presented with the restore options.
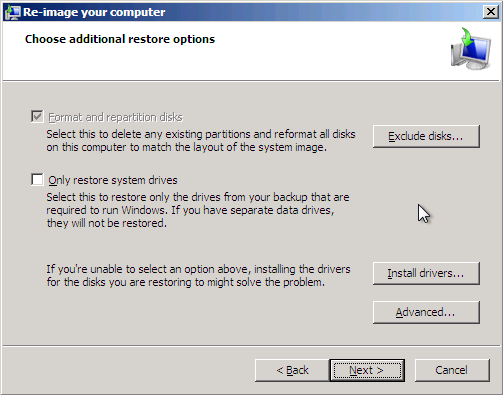
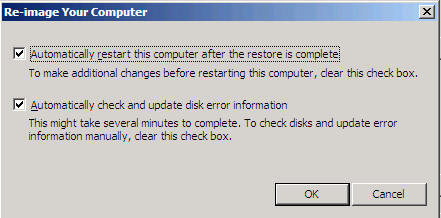
We don’t want to exclude disks, we don’t need to install drivers and the default setting under the Advanced button work fine for us, as we need to restart the computer to finish the restore and there is nothing else left to do. Checking for and updating error information is a good thing.
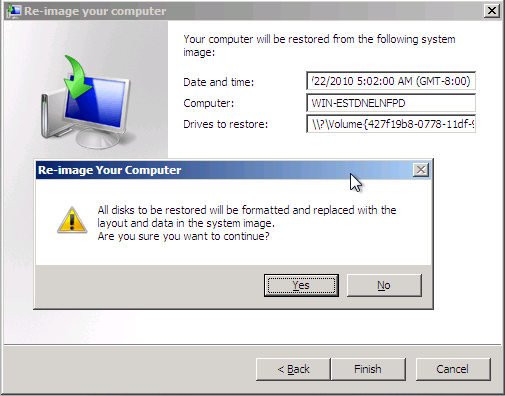
Click Finish to confirm the settings. As we selected “Format and repartition disks” they need you to confirm that this is what you really want. Click “Yes” to start the restore.
You then see a number of dialogs reporting the progress of the restore operation.
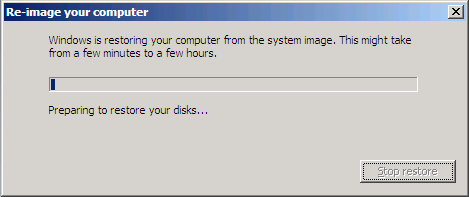
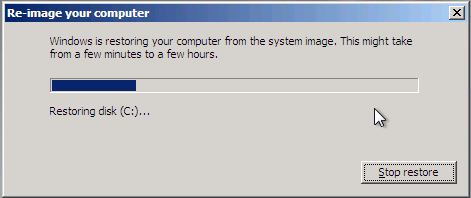
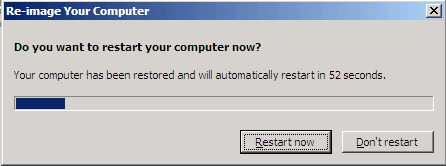
The virtual machine restarts and boots into the restored operating system. After verifying all is well with the restored server, making sure we have the integration tools up and running we have accomplished our physical to virtual migration.
The final thing to do is open up a Command Prompt Windows (run as administrator), enter set devmgr_show_nonpresent_devices=1 and then start devmgmt.msc from that same command prompt window. After selecting show hidden devices on the Device Manager View menu you can now see devices that are no longer present in the system, we’ll find our missing hardware NIC’s and delete them. That way we can assign the configuration to the new NIC. See http://support.microsoft.com/kb/241257 for more information. It’s about Windows 2000 but it still applies. That’s it. In the next part (Part III) we’ll deal with the disk sanitization & reconfiguration.

Pingback: Using Windows 2008 (R2) Backups to Go Virtual Part III « Working Hard In IT
Pingback: Stories of Windows Backup, P2V, V2V & V2P « Working Hard In IT
Hi all
I have just been through the hassle of try to P2V a MS Server 2008 R2 into Hyper-V on Server 2012. My Server 2008 had a Raid 5 boot which I found out was not supported in Server 2012 and is limited to IDE boot only (will result in a bluescreen just after boot). I hunted round but the only solution I found involved a offline complex reg edit. I had a brainstorm and booted the 2008 virtual to Hirens Boot 15.2 (freely available on the net) which I booted into Mini XP and selected Registry in the Hirens menu choosing “fix hard disk controller”. Chose the virtual boot drive Windows and applied the fix. Changed back to boot Virtual 2008 and (after a bit of a wait with a black screen) voila up it came. I hope this helps others.