
Introduction
In this blog post, we will configure a FEITIAN FIDO2 BioPass security key. As you might know from a previous blog post, FEITIAN FIDO2 security keys – Working Hard In ITWorking Hard In IT, I have a FEITIAN FIDO2 BioPass security key. That’s the one I use to test scenarios in the lab. What I write here will work with any biometric security key with the native tools. Only the vendor-specific tools will differ.
Before you can use your FEITIAN security key, we need to set it up. That is a pretty straightforward process. You can use the native Windows 10 or Windows 11 tools or download the tool the FIDO2 vendor provides. Both work perfectly well, but the vendor tool often offers more capabilities.
Initial configuration
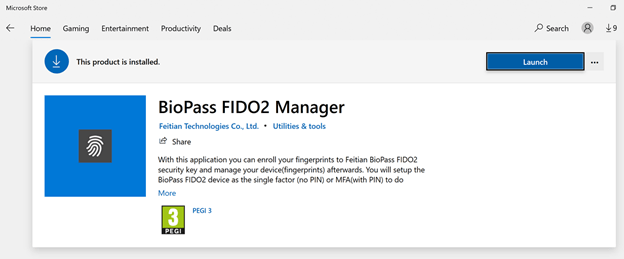
Below I will show you how to use the Windows 10 native built-in tool to configure a FEITIAN FIDO2 BioPass security key. That tool is available on Windows 19H1 and onwards and in Windows 11. After that, I will peek at the FEITIAN tool (see 未标题-1 (ftsafe.com)). You can download the FEITIAN tool from the Microsoft Store.
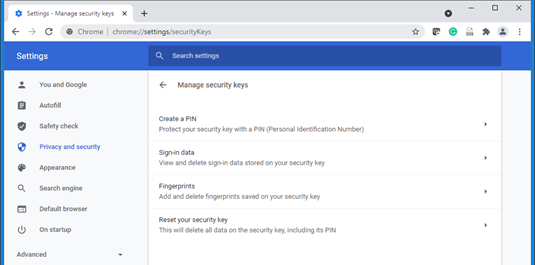
You can also use the built-in Chrome tools to do this, which is not only applicable on an Apple or Linux device but also on a Windows Server 2019 OS with the desktop experience where the built-in tool is not available.
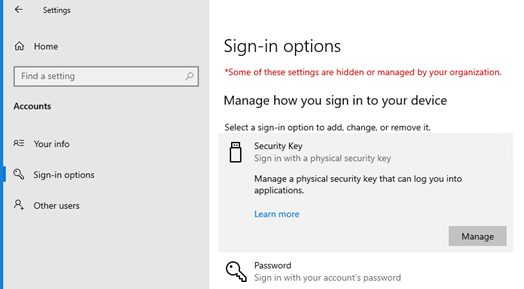
In Windows Server 2022, however, you do have built-in tools available. You can find it in Settings under Accounts, Sign-in options, Security Key.
Windows 10 built-in tool
But let’s run over how to do this with the built-in tool in Windows 10 or Windows 11.
Type “Window Security” in the search bar and click on “Windows Security.”
In the left pane, click on “Account Protection.”
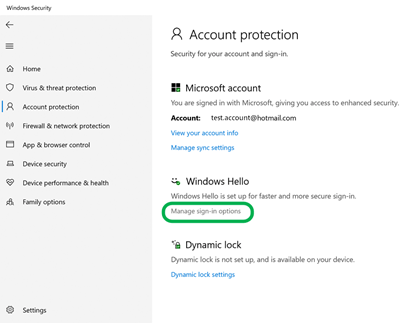
Under “Windows Hello,” click on “Manage sign-in options.”

Depending on what type of client you have and if you have Windows Hello capable devices (camera, fingerprint reader, and such) and a supported environment for it, specific options will be available or not. For our use case, a FIDO2 security key, we are interested in the bottom one, “Security Key.” Select it and click on the “Manage” button.
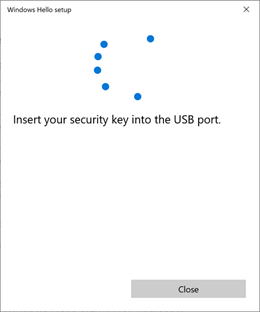
If you have not yet inserted your security key, the tool will ask you to do so. That screen will go away once you have inserted your security key. If you have already inserted it, you will not see this screen.
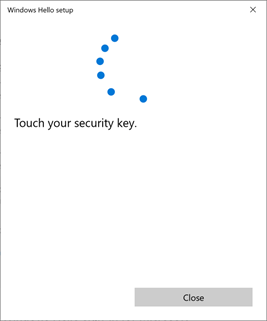
It will ask you to touch your security key. Don’t worry; this does not require your fingerprints yet. Which is logical as they are not there yet.
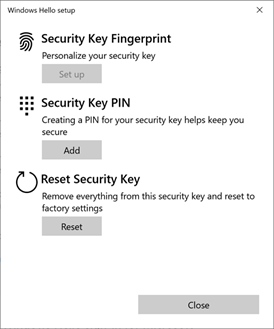
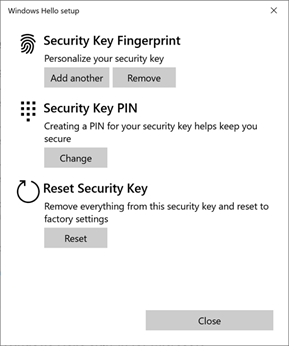
First of all, we now need to add the Security Key PIN to your security key when it is a new one or one that you have reset. That PIN helps secure your key from undesired use and can be anything between 4 and 64 characters.
A note about your PIN
Note that a PIN does not have to be limited to 4 digits; it can be more. You can use numbers, letters, special characters, etc. That means that “My1stPIN!” is acceptable. But please do not use “1111”. You get the idea. Use something sensible and reasonably secure. It is worth noting that it will be locked out if you type in your key incorrectly too many times. You’ll need to reset your security key, which causes a bit of a hassle, as you can imagine. So choose wisely and make it something you can remember and type in correctly quickly. Also, it is wise to have a backup MFA device (smartphone, 2nd security key).

After you have set the PIN, you can enter one or more fingerprints. For example, I usually register two fingerprints of both hands. That makes sure I can log in when my thumb is in a band-aid and helps easily access the security key when I plug it into either my client device’s right or left side.

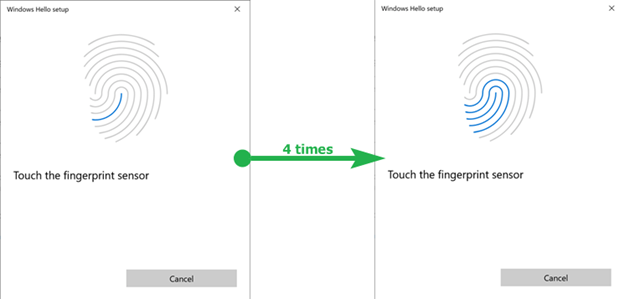
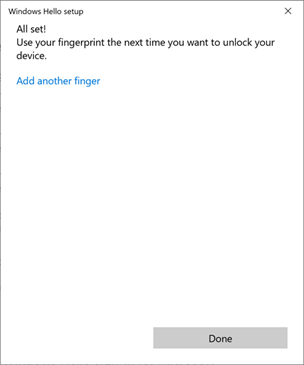
You can register different fingerprints now or come back and add them later.
That’s it. The FEITIAN FIDO2 security key is now ready for use with any service that supports it.
FEITIAN BioPass FIDO2 Manager
If you have downloaded the FEITIAN BioPass FIDO2 Manager tool from the Microsoft store, you will find it works similarly but with some extra advantages.
For one, you can easily list the fingerprints and test them. That way, you can figure out which ones to delete or replace. Quite handy, but it gets even better!
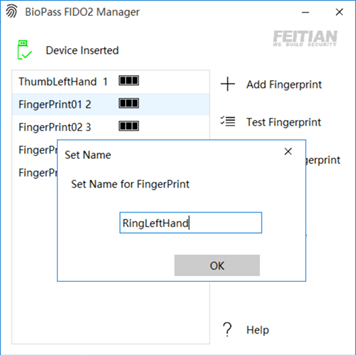
The cool thing is that you can double-click the fingerprint entries and rename them. That comes in very handy! However, I want to see this capability natively in the Windows built-in tool as well.
I will show you how to use it with your personal Microsoft account and Twitter in a subsequent blog post. With Microsoft, you have the option of going 100% passwordless, and you can delete your password. With other services, this is not always possible yet. But don’t worry, having MFA is helping you avoid 99,9% of unauthorized access to your accounts already. Why? Because most “hacks” of your identity are not real hacks or breaking into the service, but people logging into your account via stolen, derived, or guessed passwords. MFA blocks that.